What is the Burp Suite scanner?
Burp Suite is a handy tool for many things, both security testing and development. Just being able to easily inspect and modify HTTP traffic is quite useful.
Despite all these useful functions, it is undeniable that the number one tool of Burp Suite, its crown jewel and flagship, is its scanner.
The scanner can perform vulnerability scans, where Burp tries to identify various vulnerabilities or weaknesses in the target, and crawling-type scans, where the tool tries to automatically map the paths and interfaces of the website.
Dashboard
Scans are initiated, monitored, and managed from the Burp Dashboard.
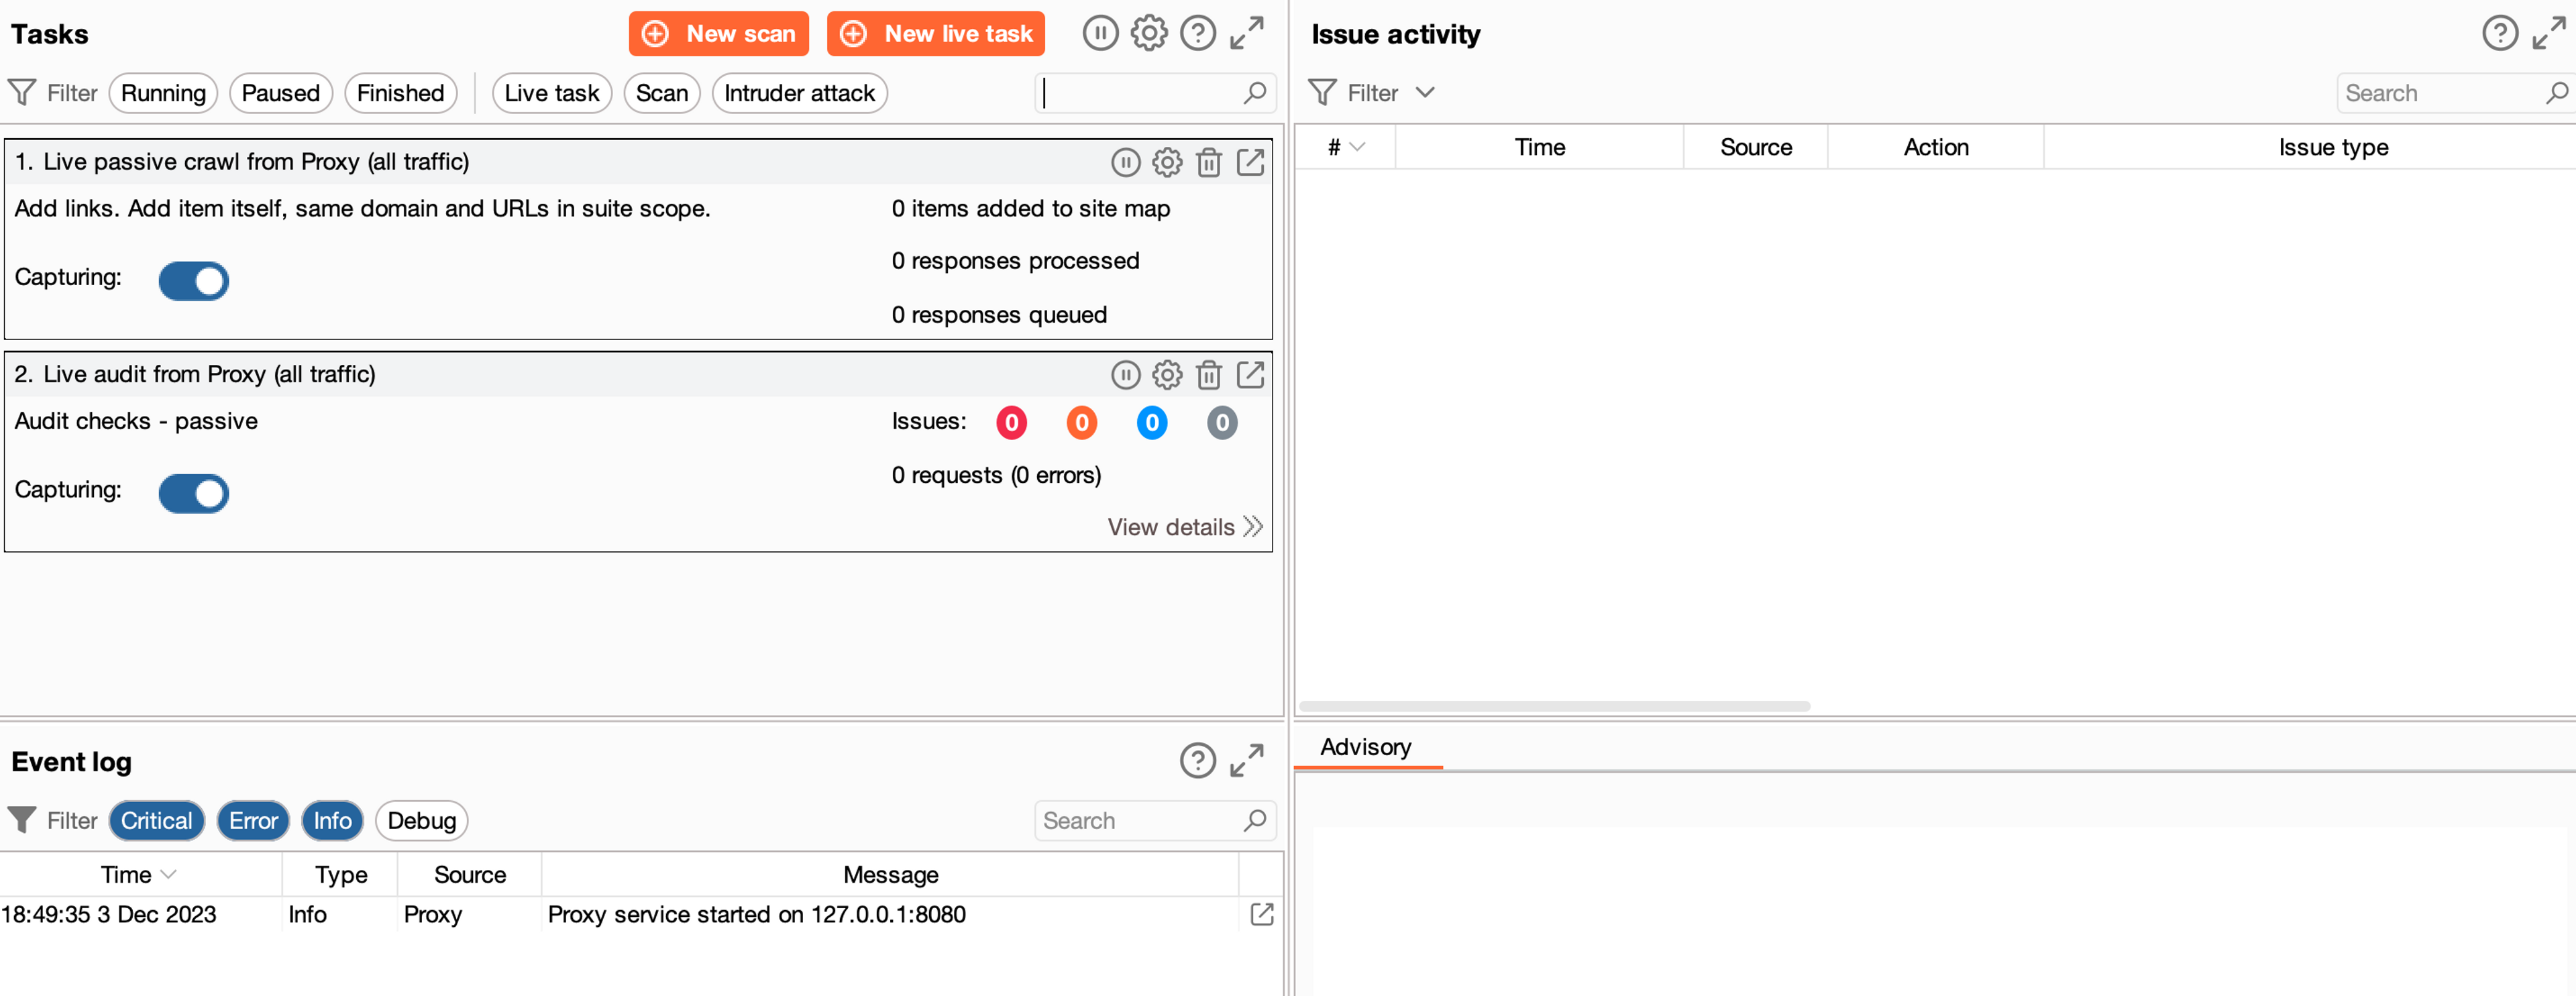
The top left pane contains all the current operations you have created. For example, if you create a new scan, it will appear here, where you can manage it. By default, BurpSuite Pro version performs passive mapping and auditing, but you can disable these if you want.
Using a Scanner - Practical Example
Starting the exercise
Now we will start the example lab below and run Burp's audit and mapping scan against it. If you are a member of Hakateemia, you can start the task below and proceed with it.
Opening Application with Burp Browser
Open the application with a browser that is configured to work with BurpSuite software, for example, by opening Burp's built-in browser. Make sure that the application is visible in Burp by going to the Target window.
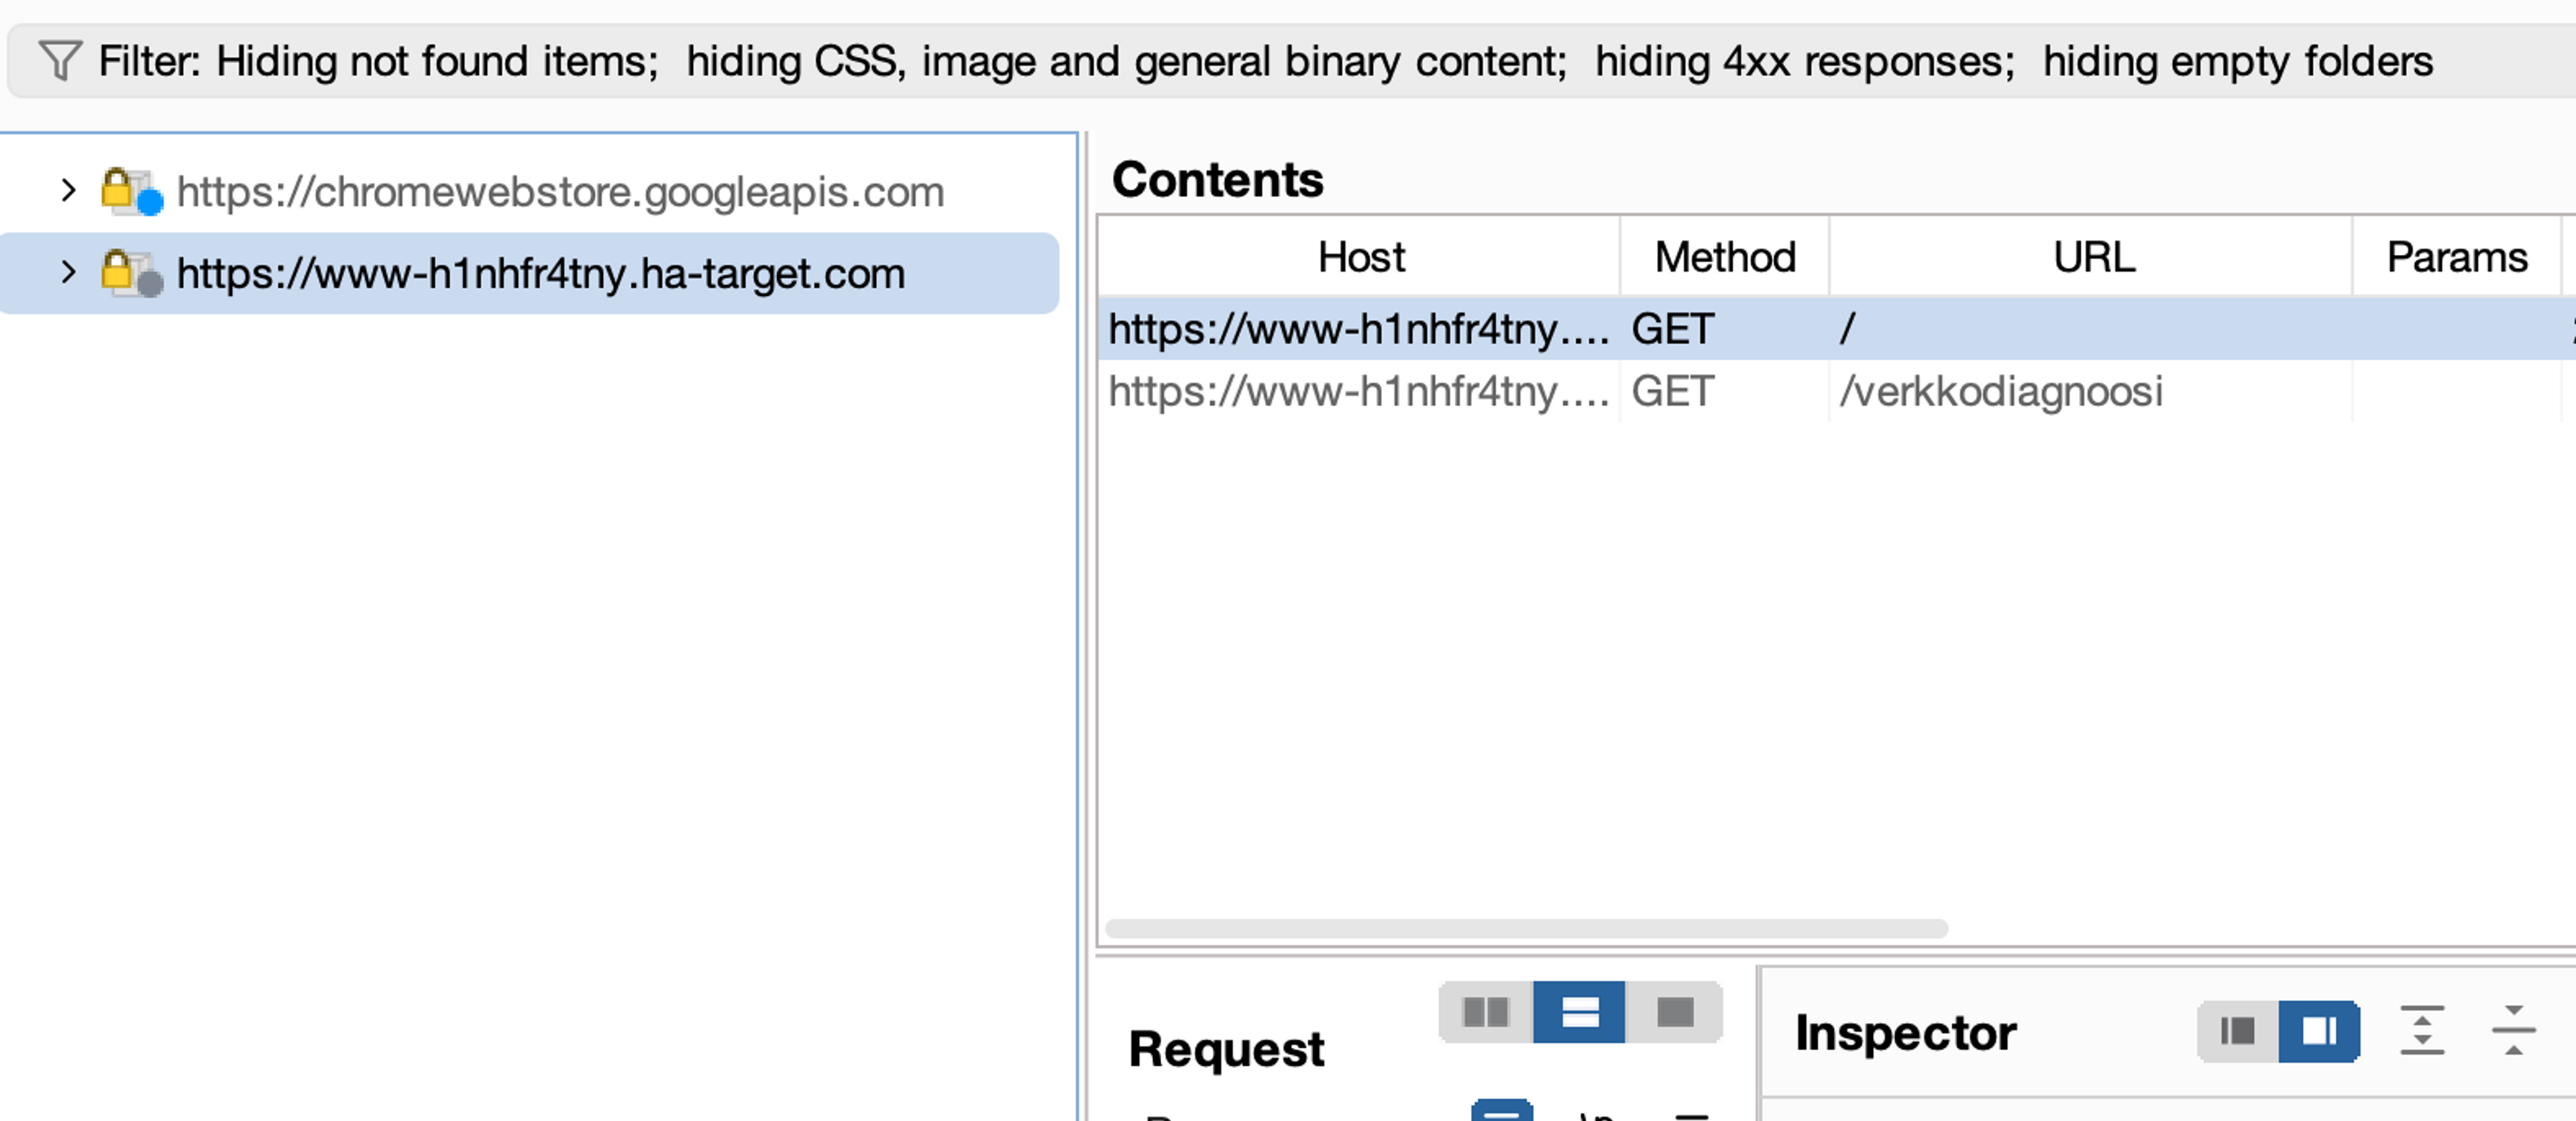
Setting the target to scope
Next, set the target In-Scope, meaning include it in the current scope.
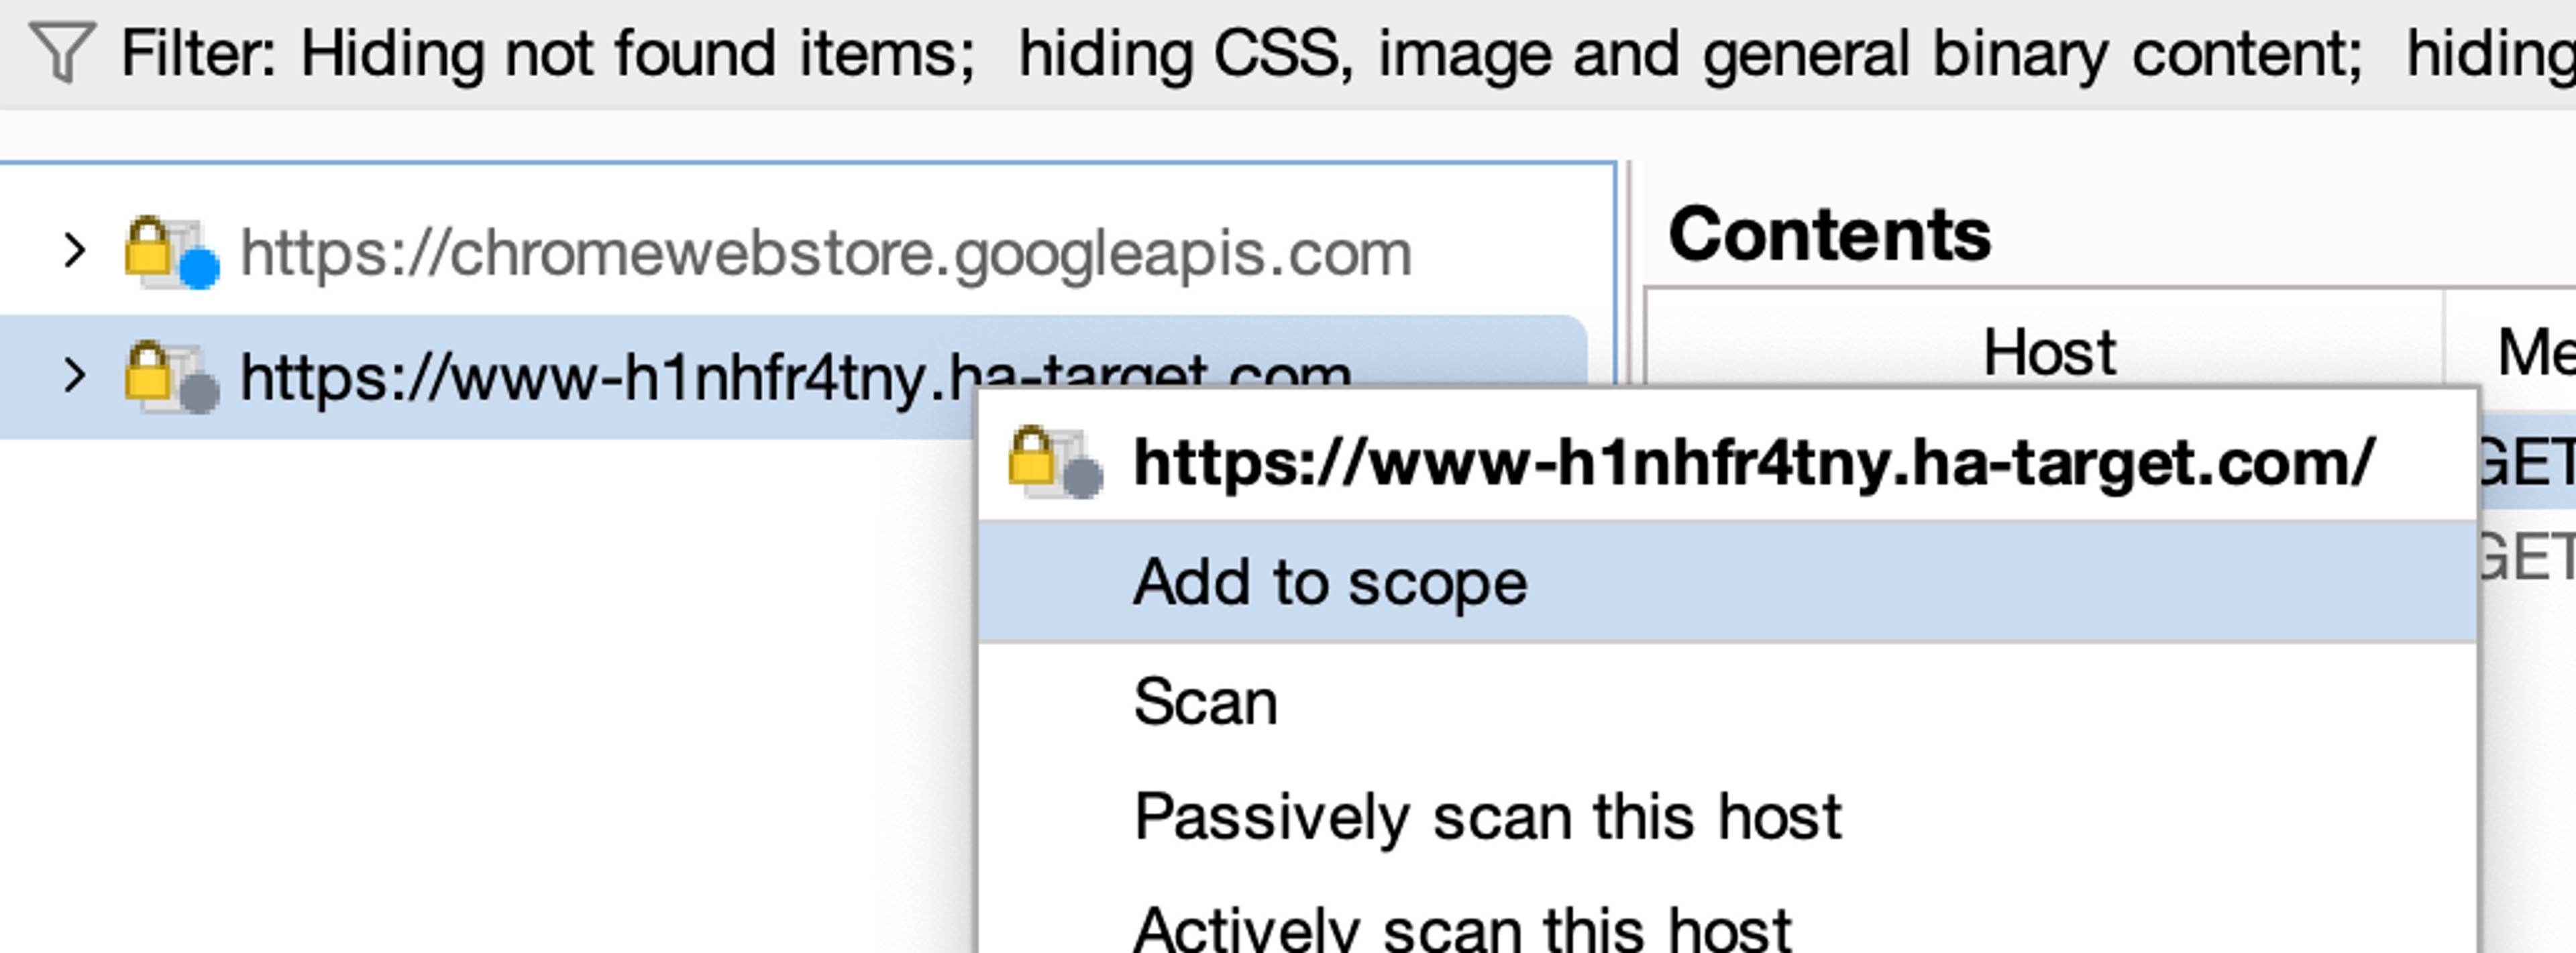
Filter the Target window to display only the items contained in the scope by clicking the Filter button located at the top bar. Select Show only in-scope items as the filter. Then select Apply.
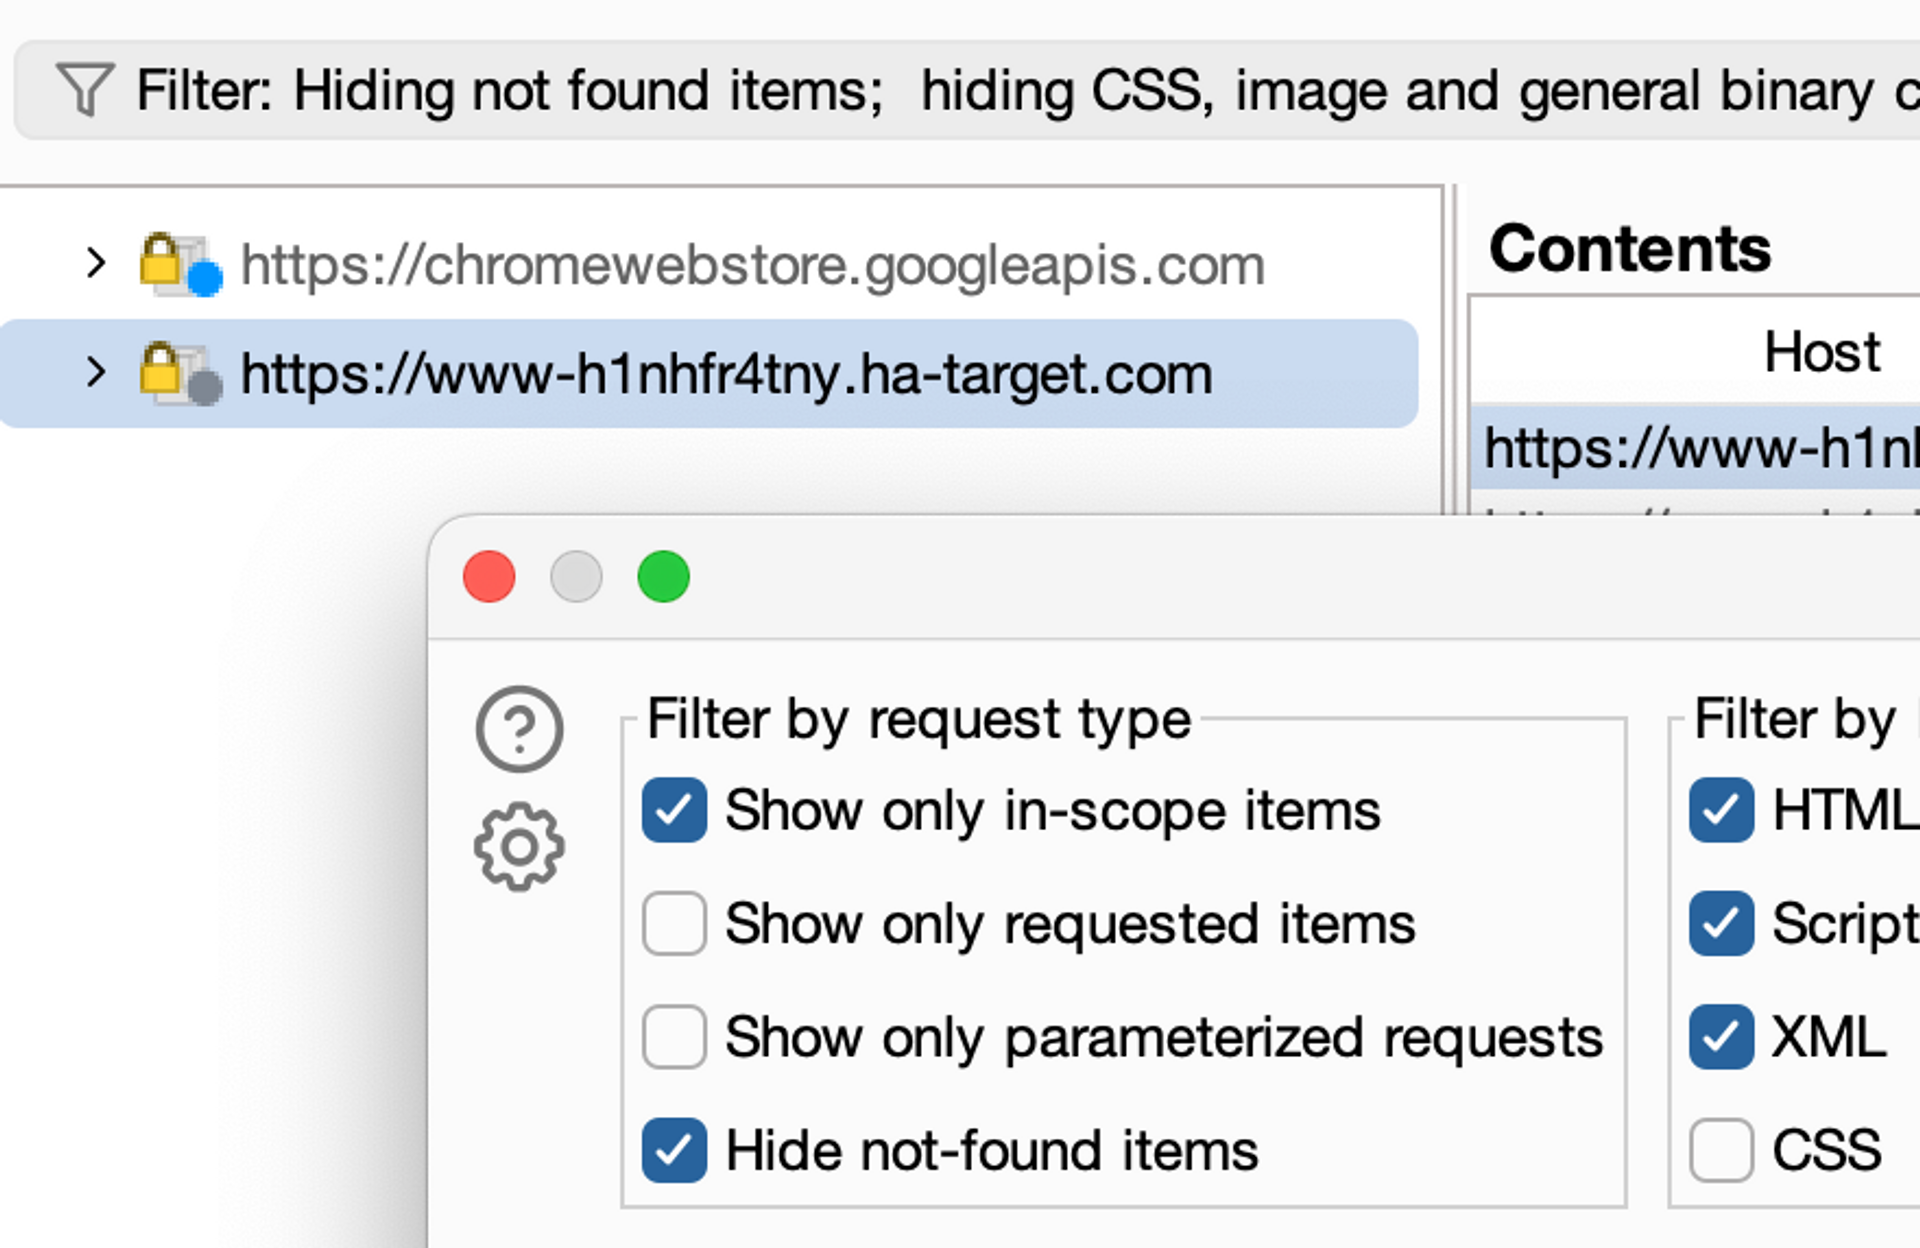
Now we should only see the desired target.
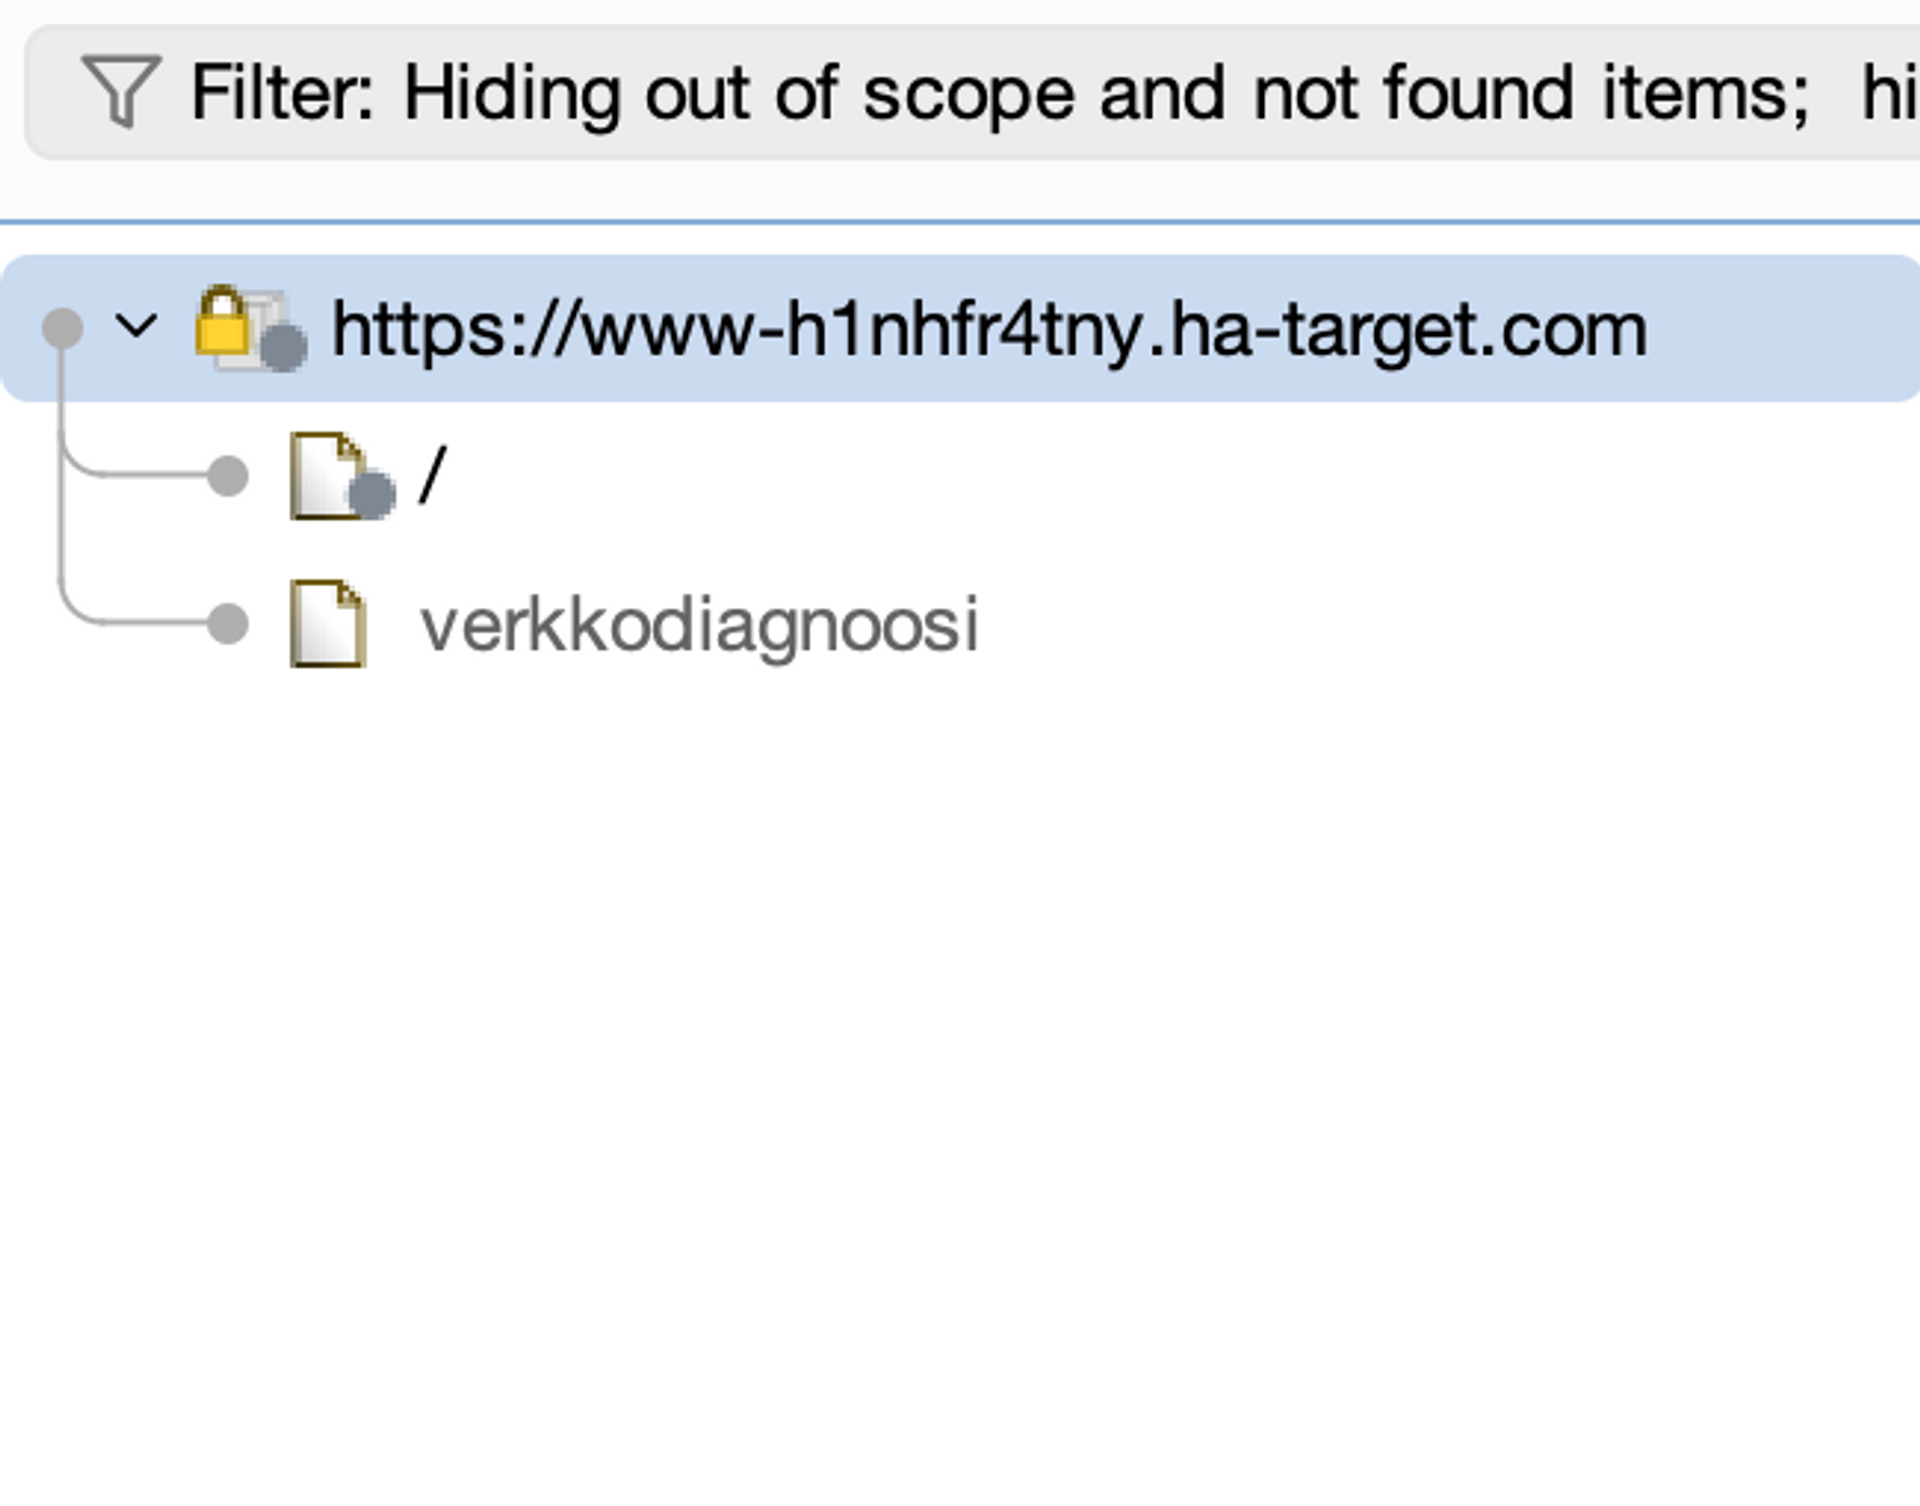
Vulnerability and mapping scanning (Crawl and audit)
Next, perform a basic audit and mapping scan on this target. Right-click on the target and select Scan.
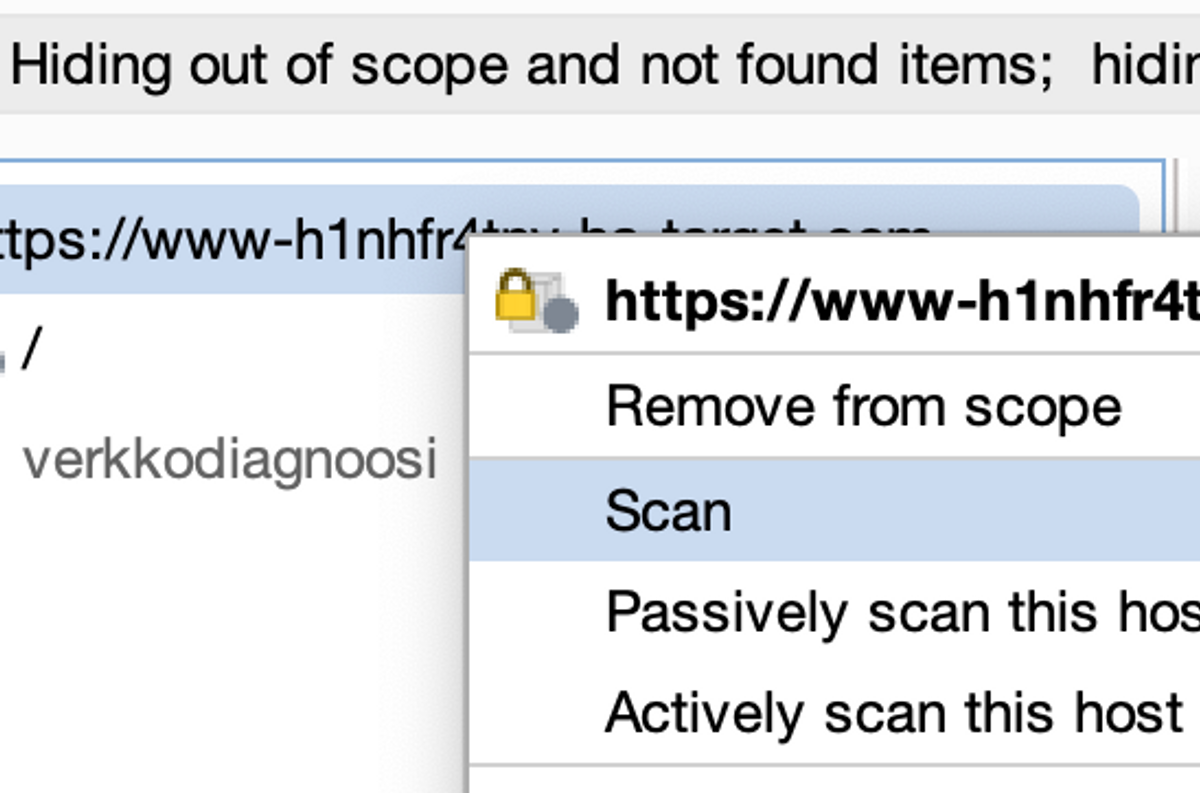
This should open a four-part window, where the first part determines the scanning type, as well as other details, such as targets.
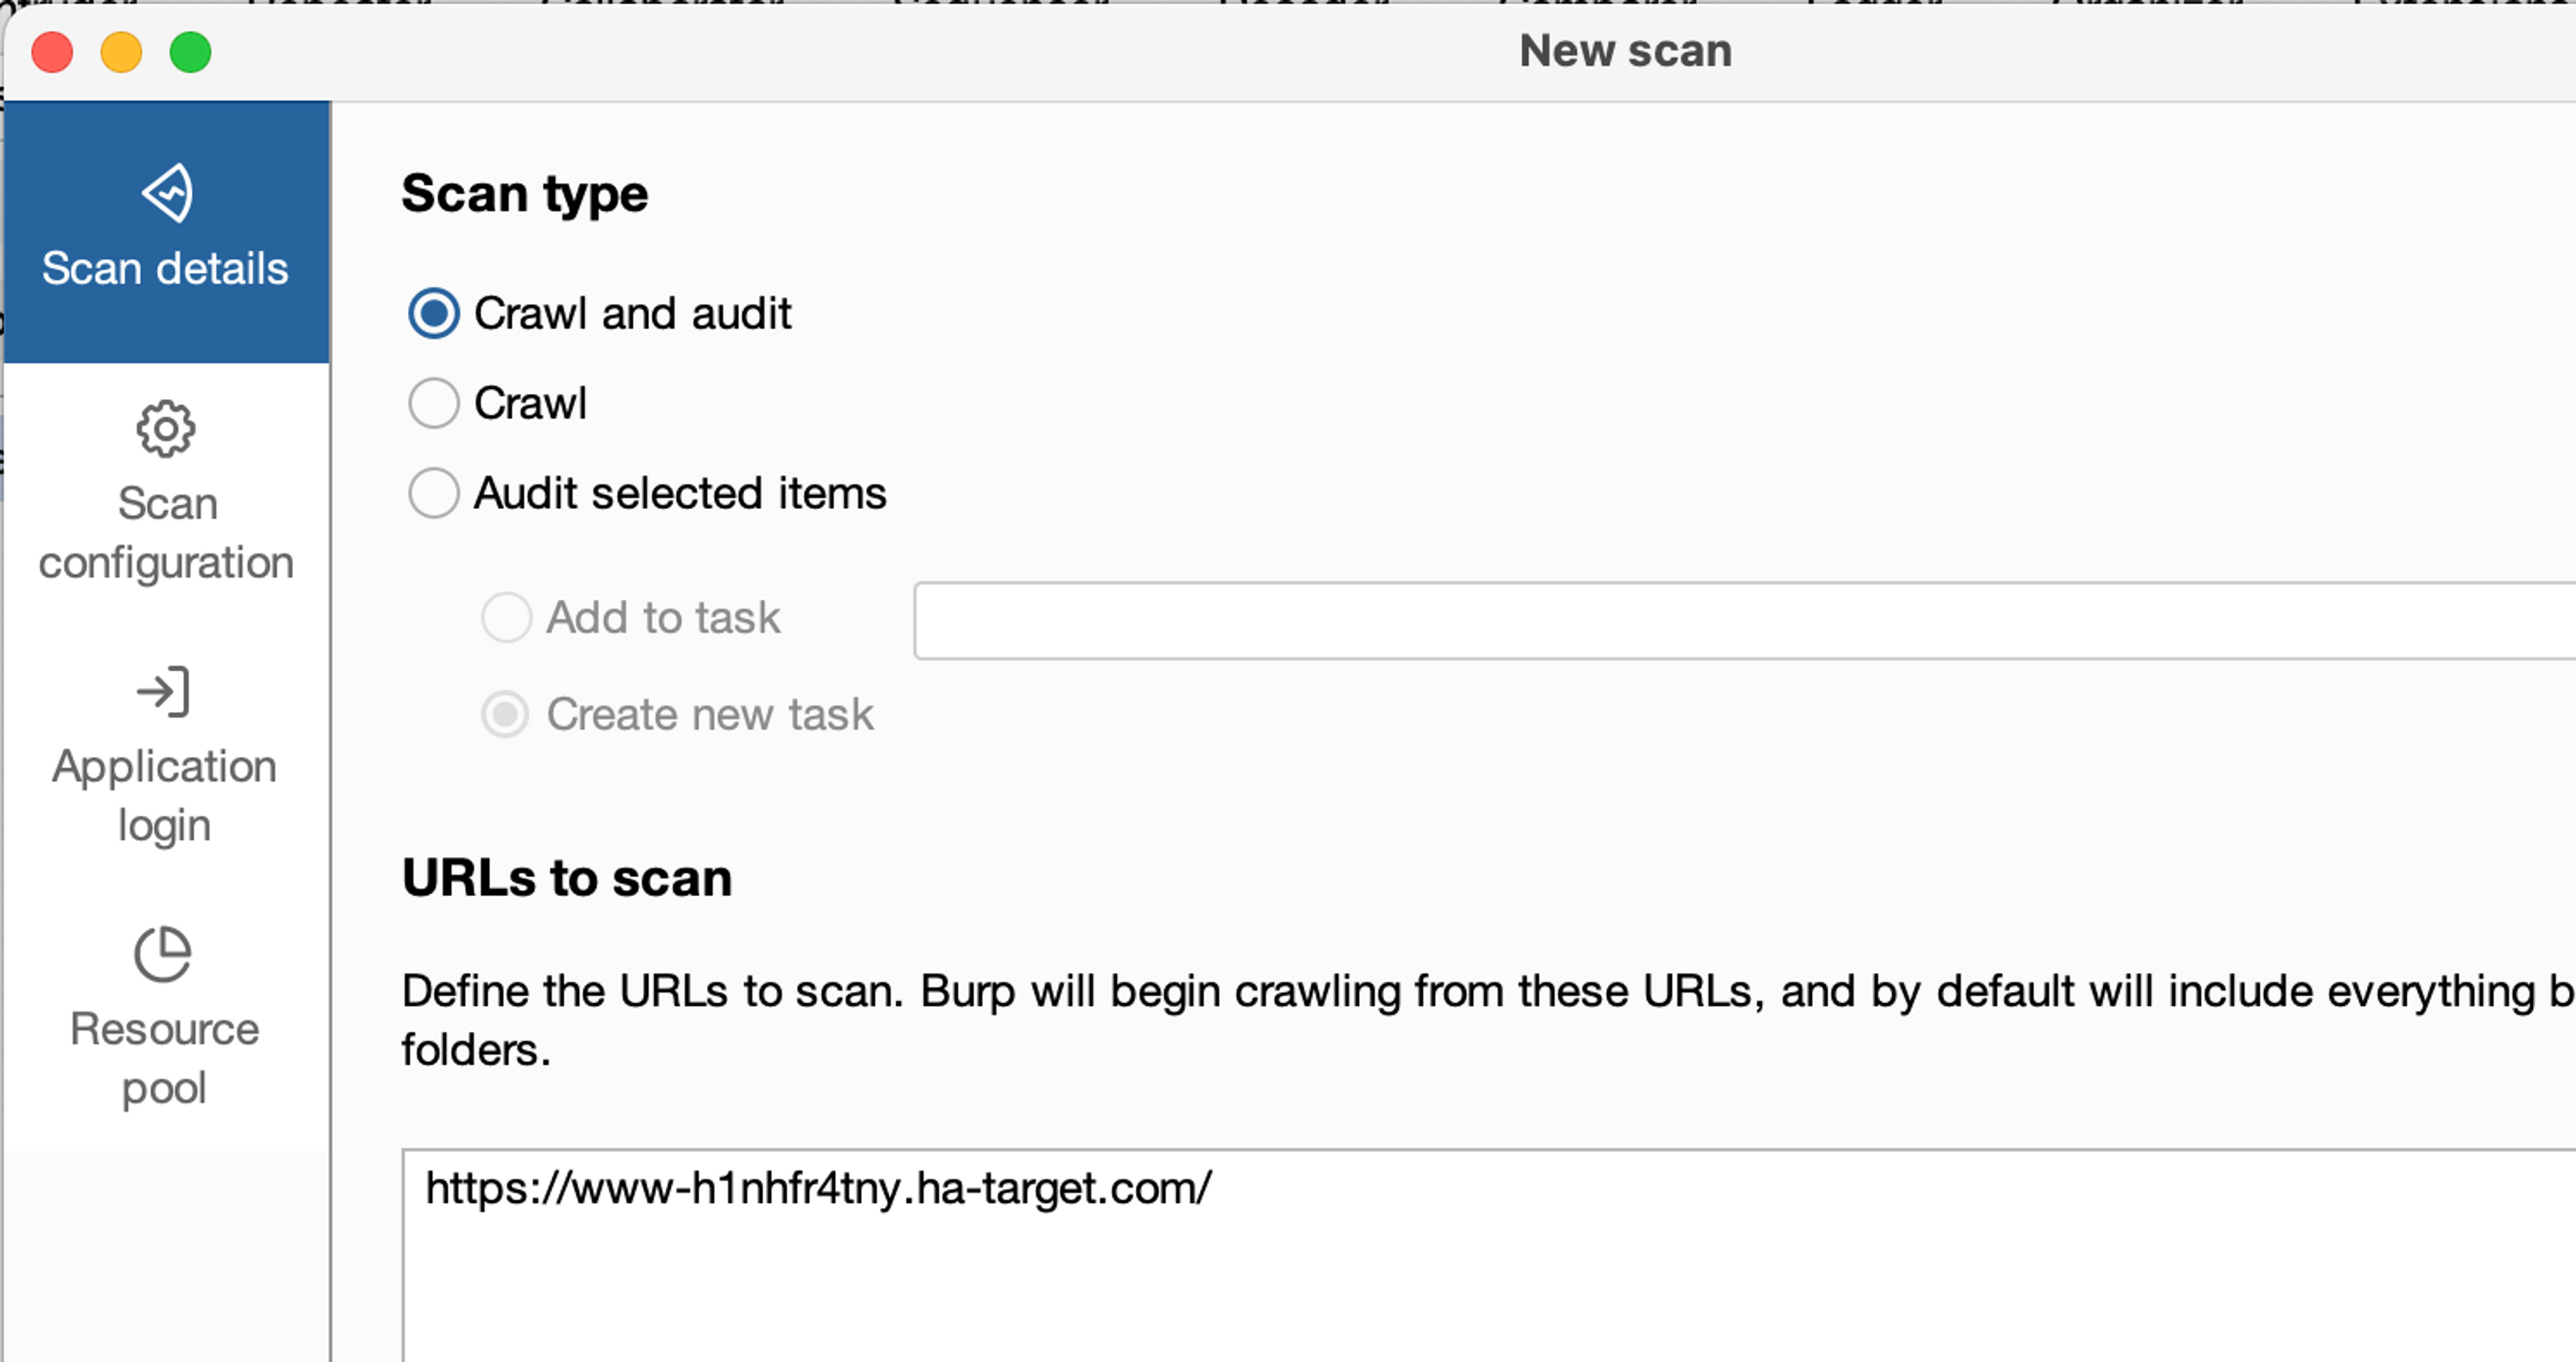
Select Crawl and audit, which means mapping and auditing scan. Then go to the Scan Configuration window.
Scanning Configuration
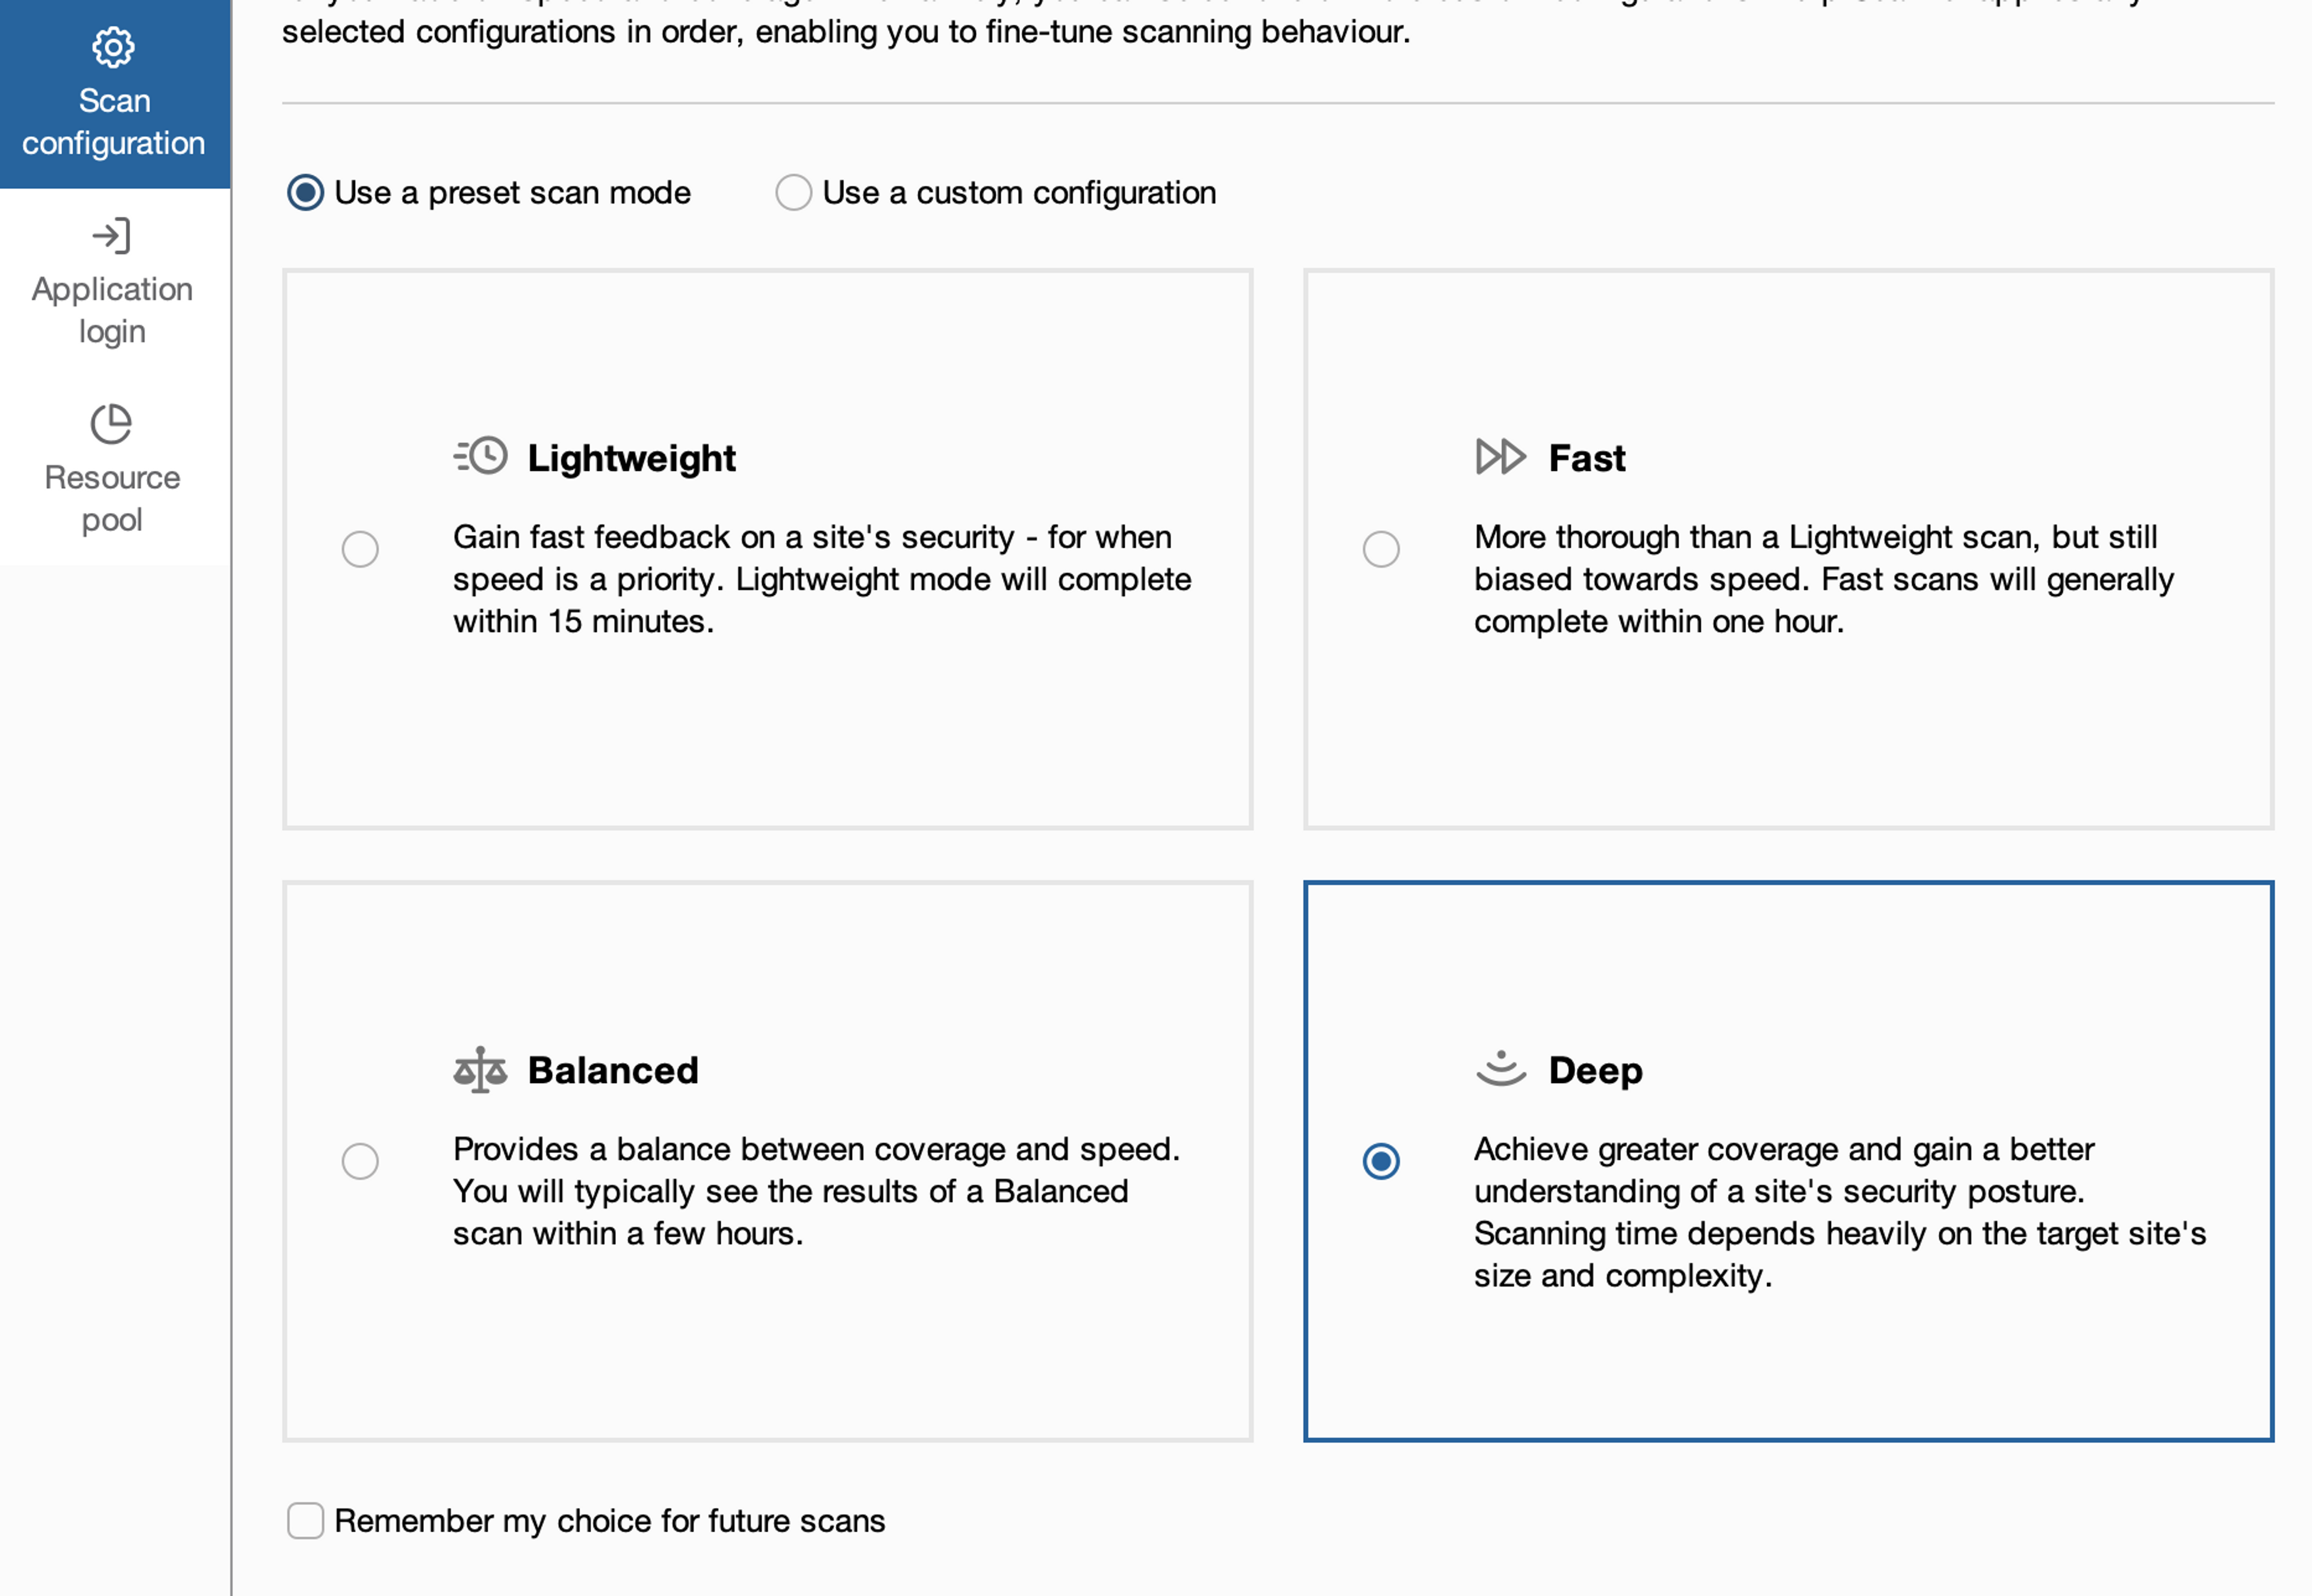
Next, we can choose between two different options, which are to choose a preconfigured scanning configuration or create our own. There are also more preconfigured configurations available by going to Use a custom configuration -> Select from library.
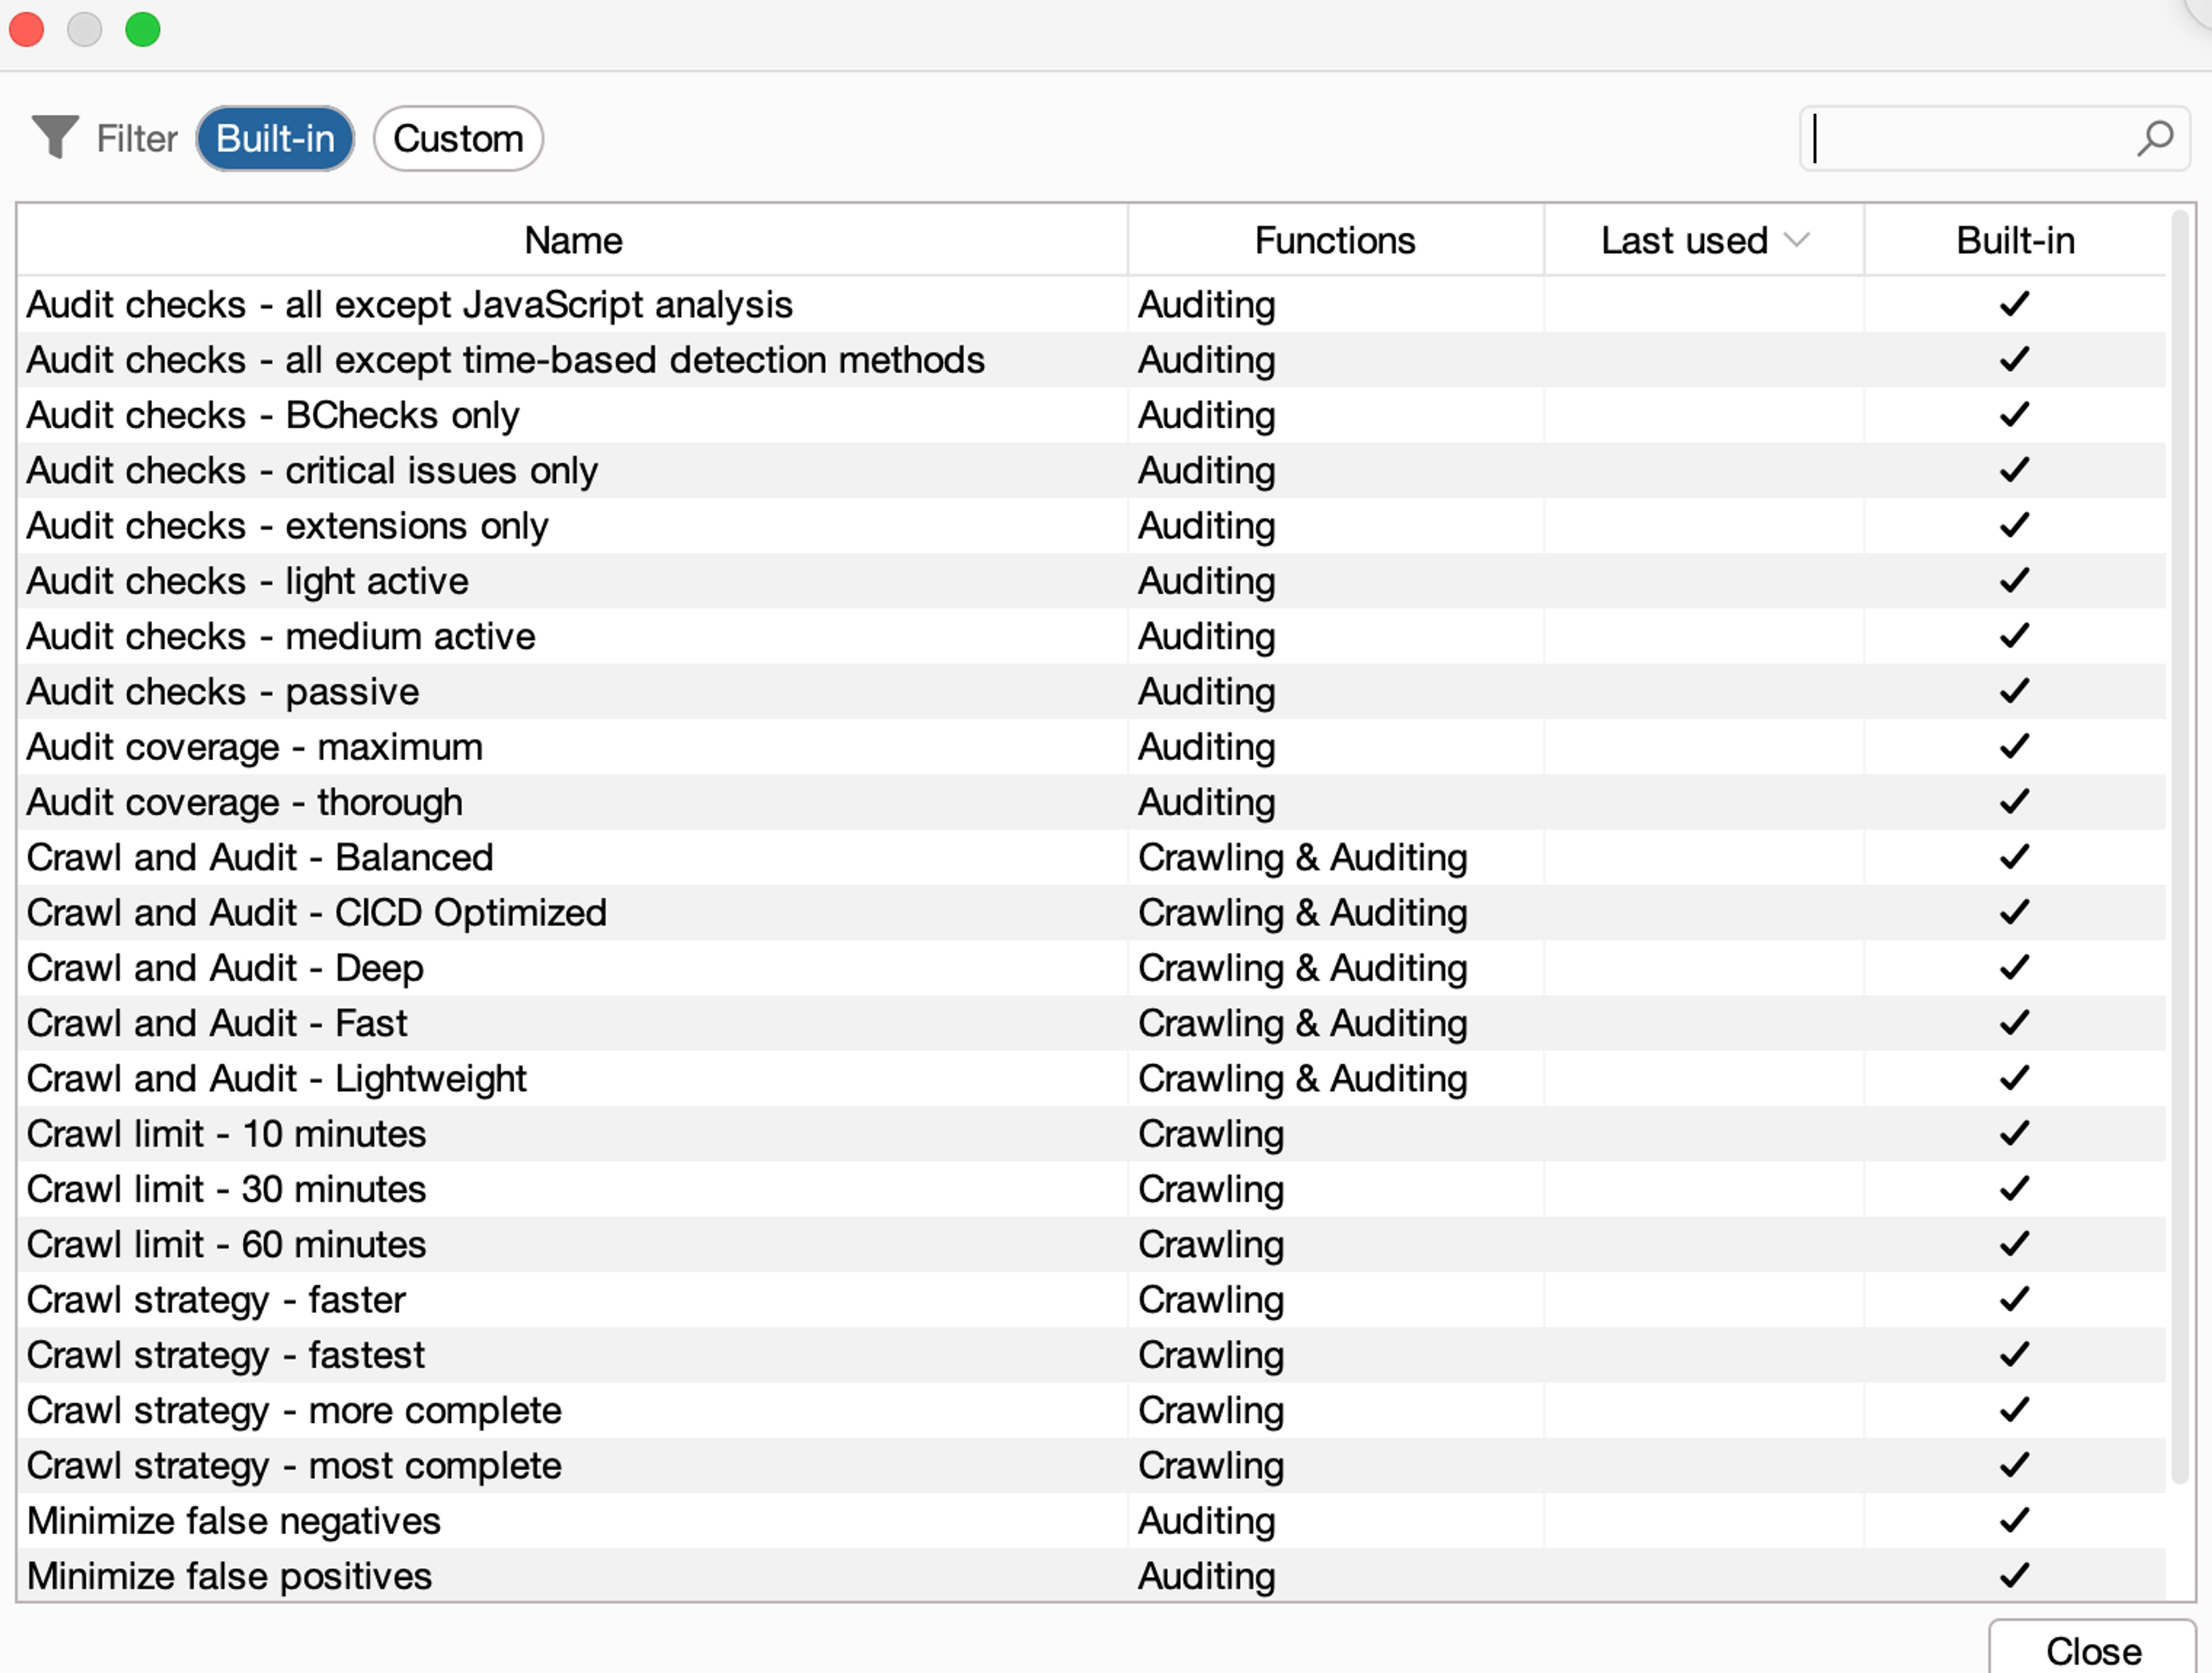
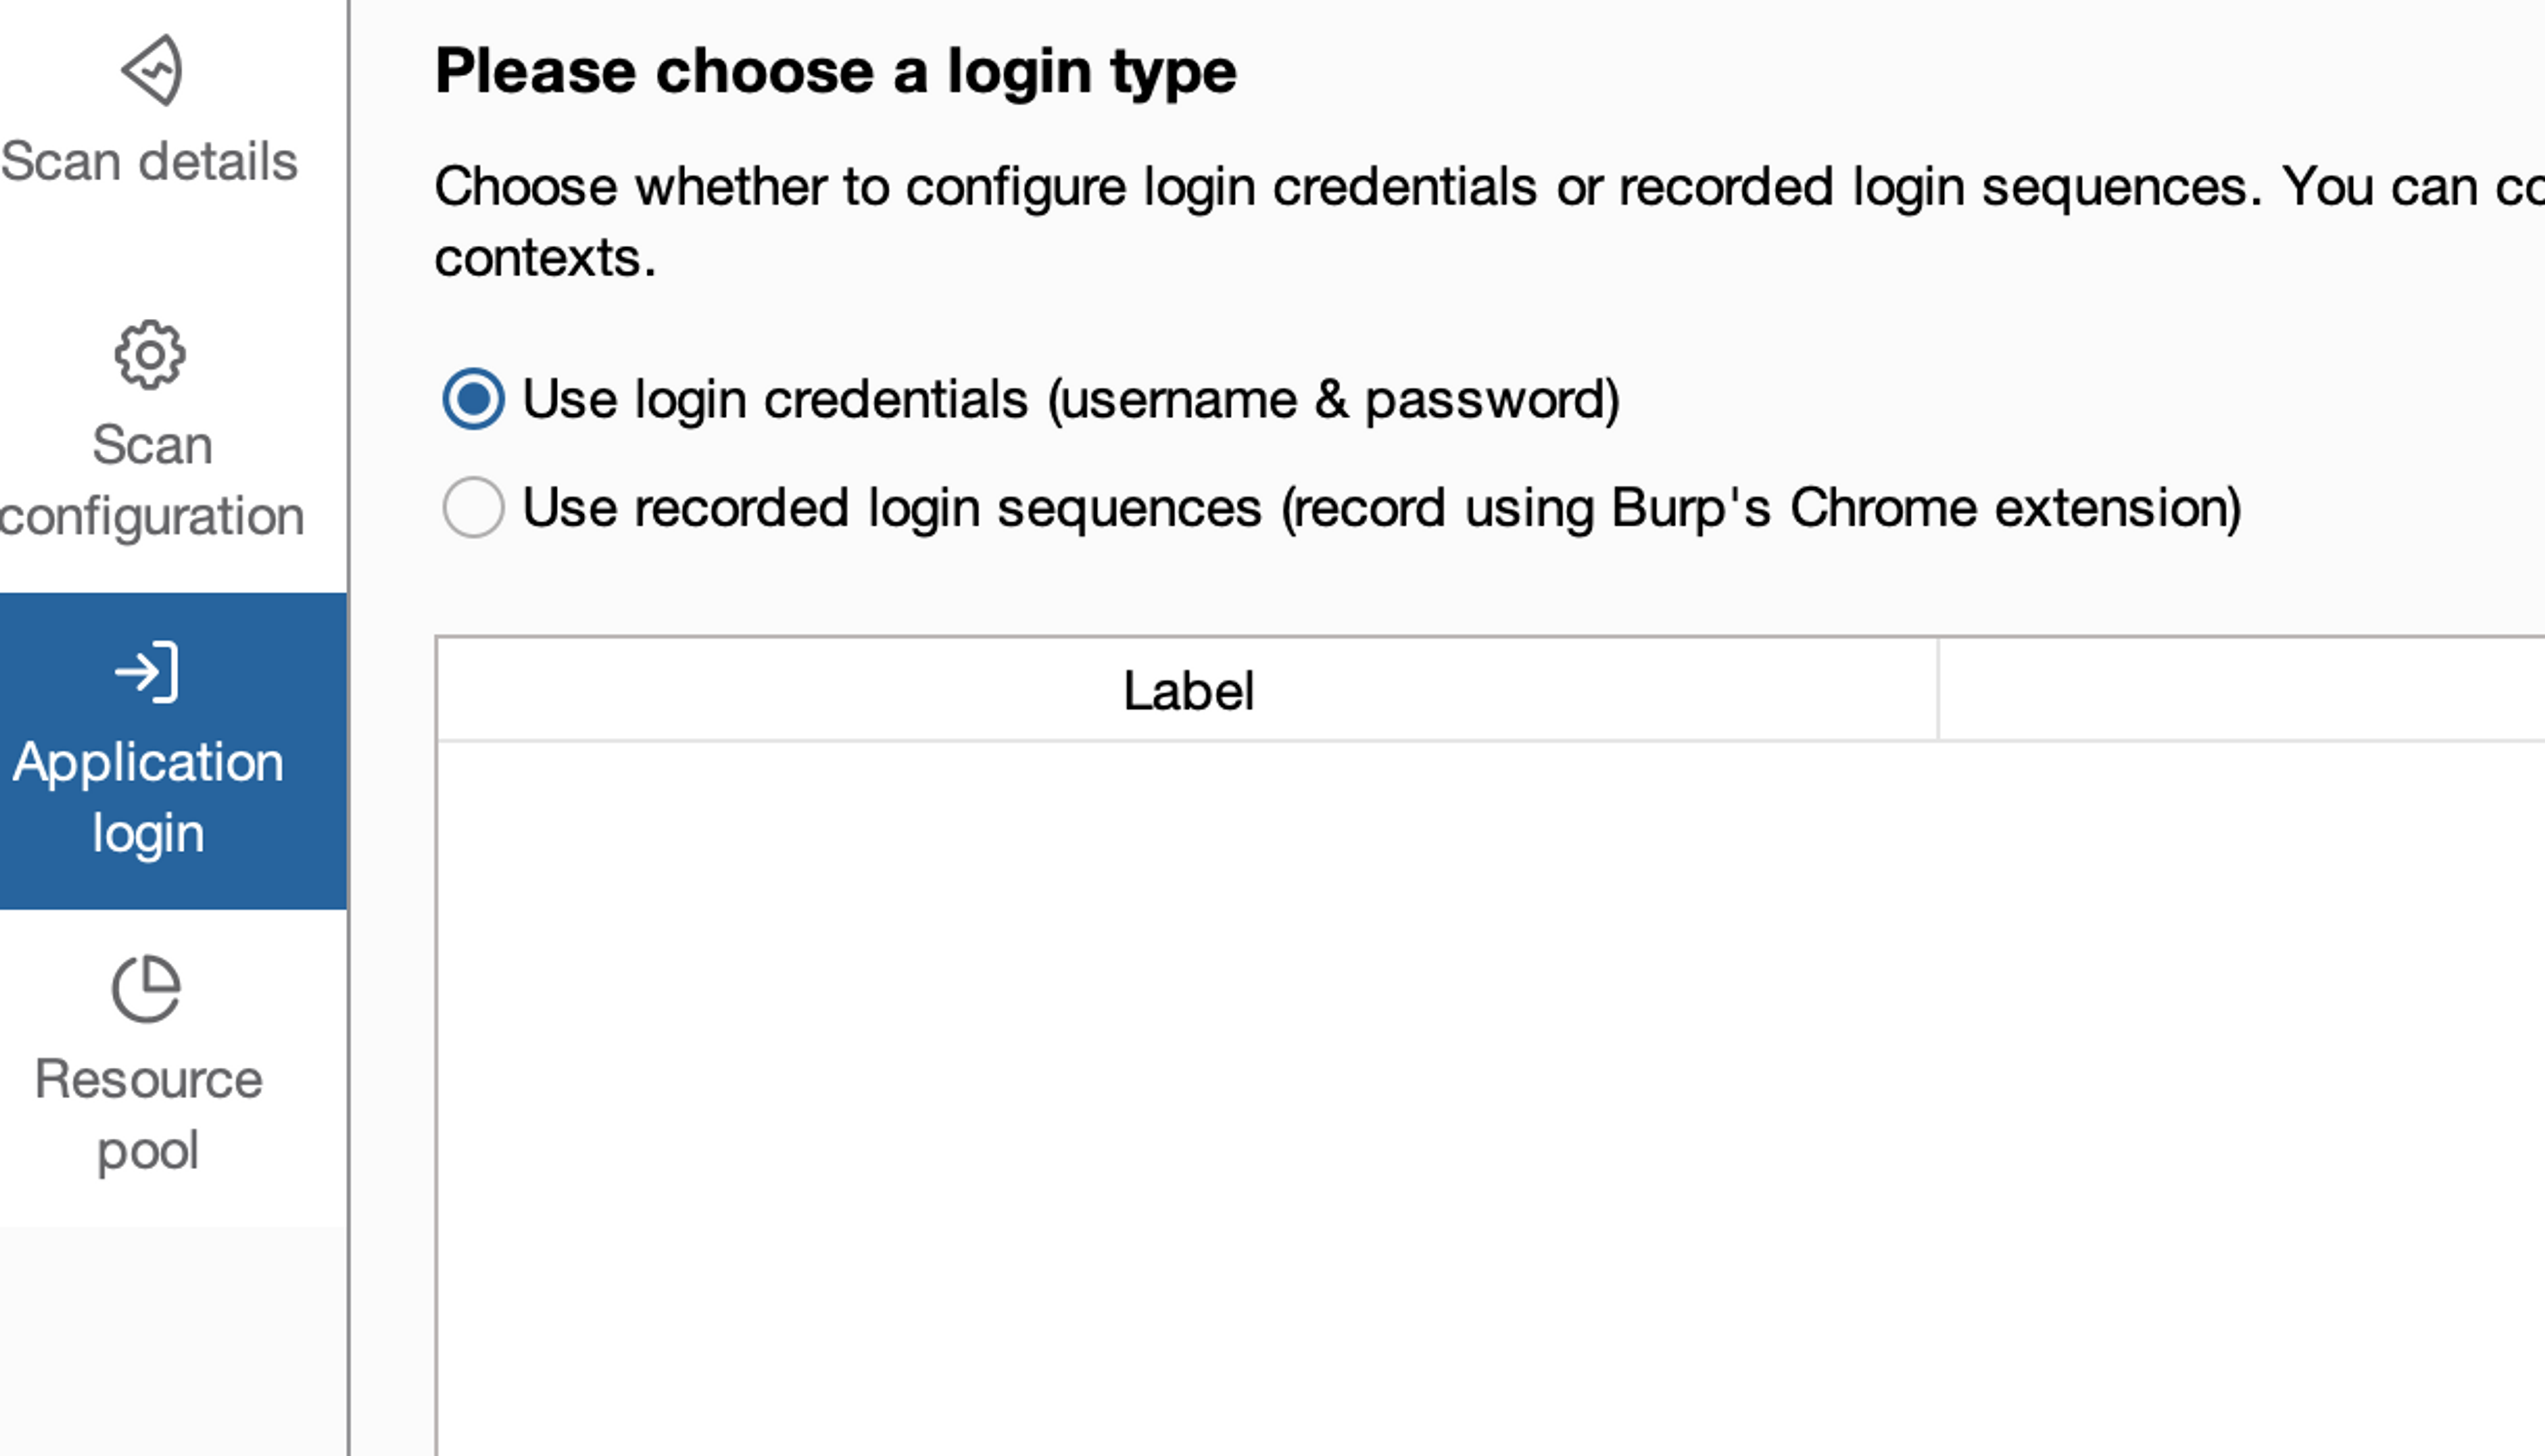
However, we will choose the Deep-scan on the first page. On the next page, we can specify the authentication-related actions more precisely, meaning providing ready-made credentials or stored login sequences. Nothing needs to be done for this right now.
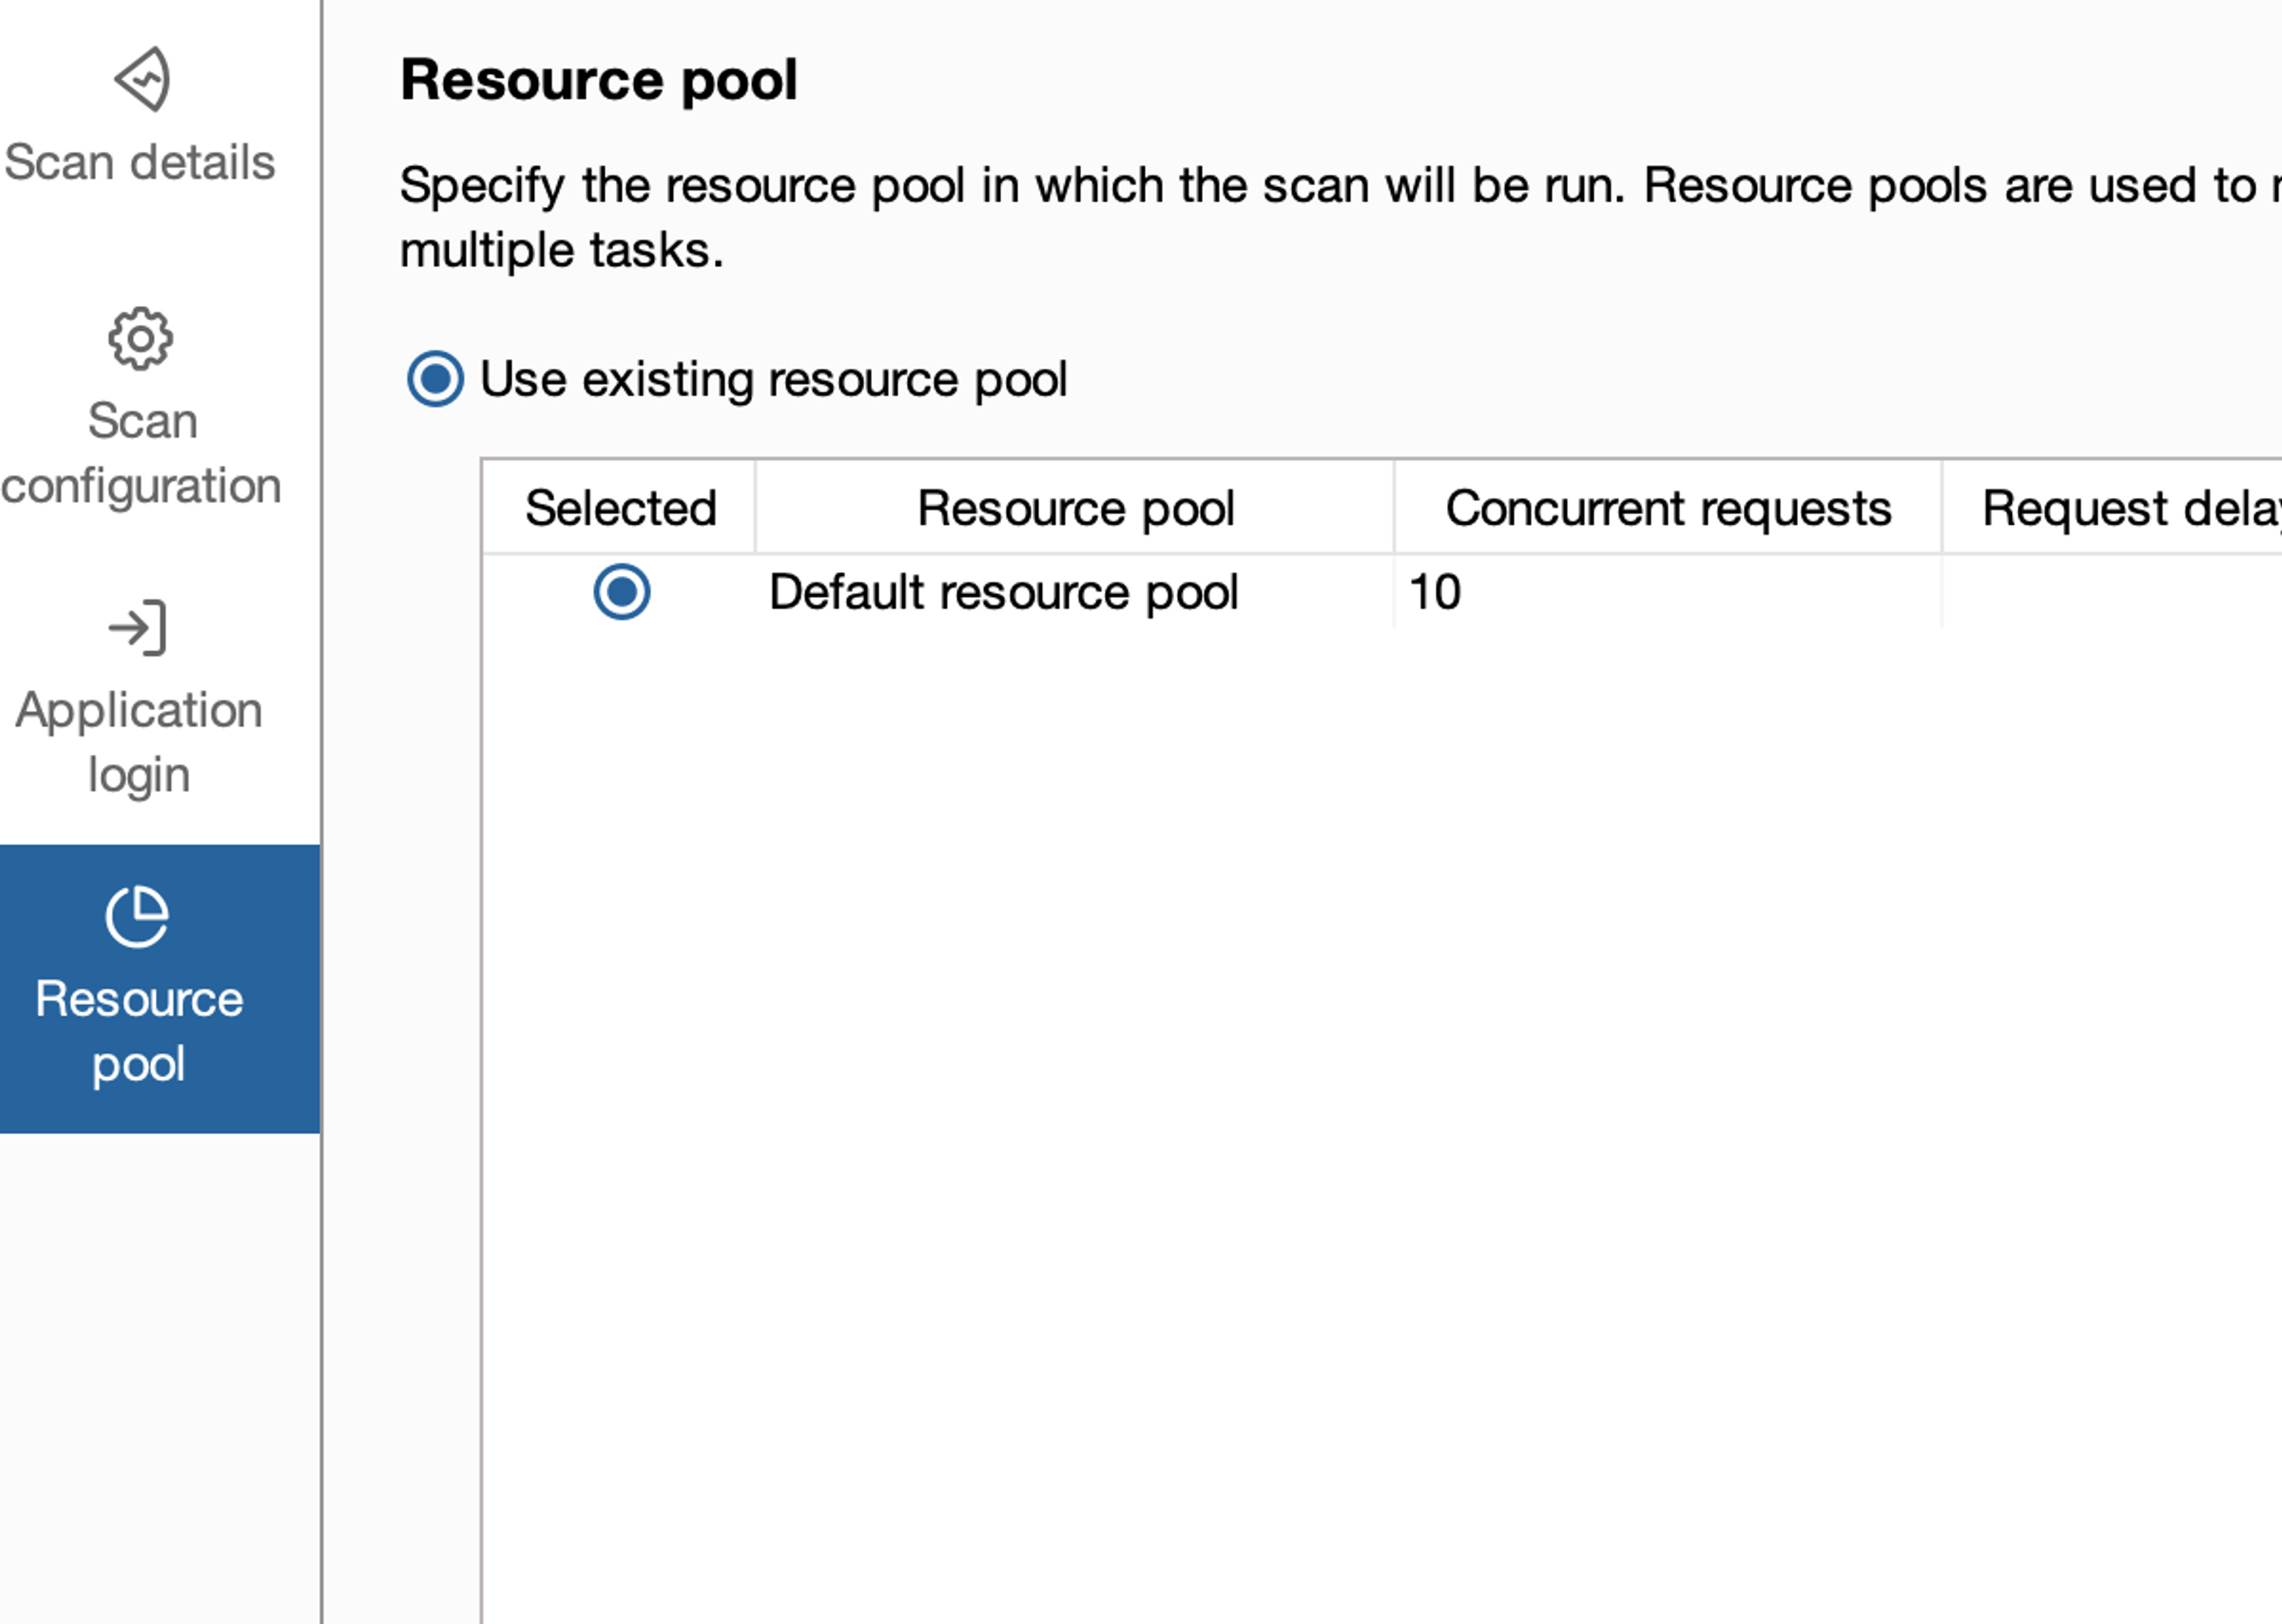
Let's take a look at the last window, which is related to resources. The default setting for Burp is often very good and does not require adjustment, but occasionally it may be necessary to either increase or decrease resources as well as scanning speed. However, let's leave this as the default for now.
Starting and monitoring the scan
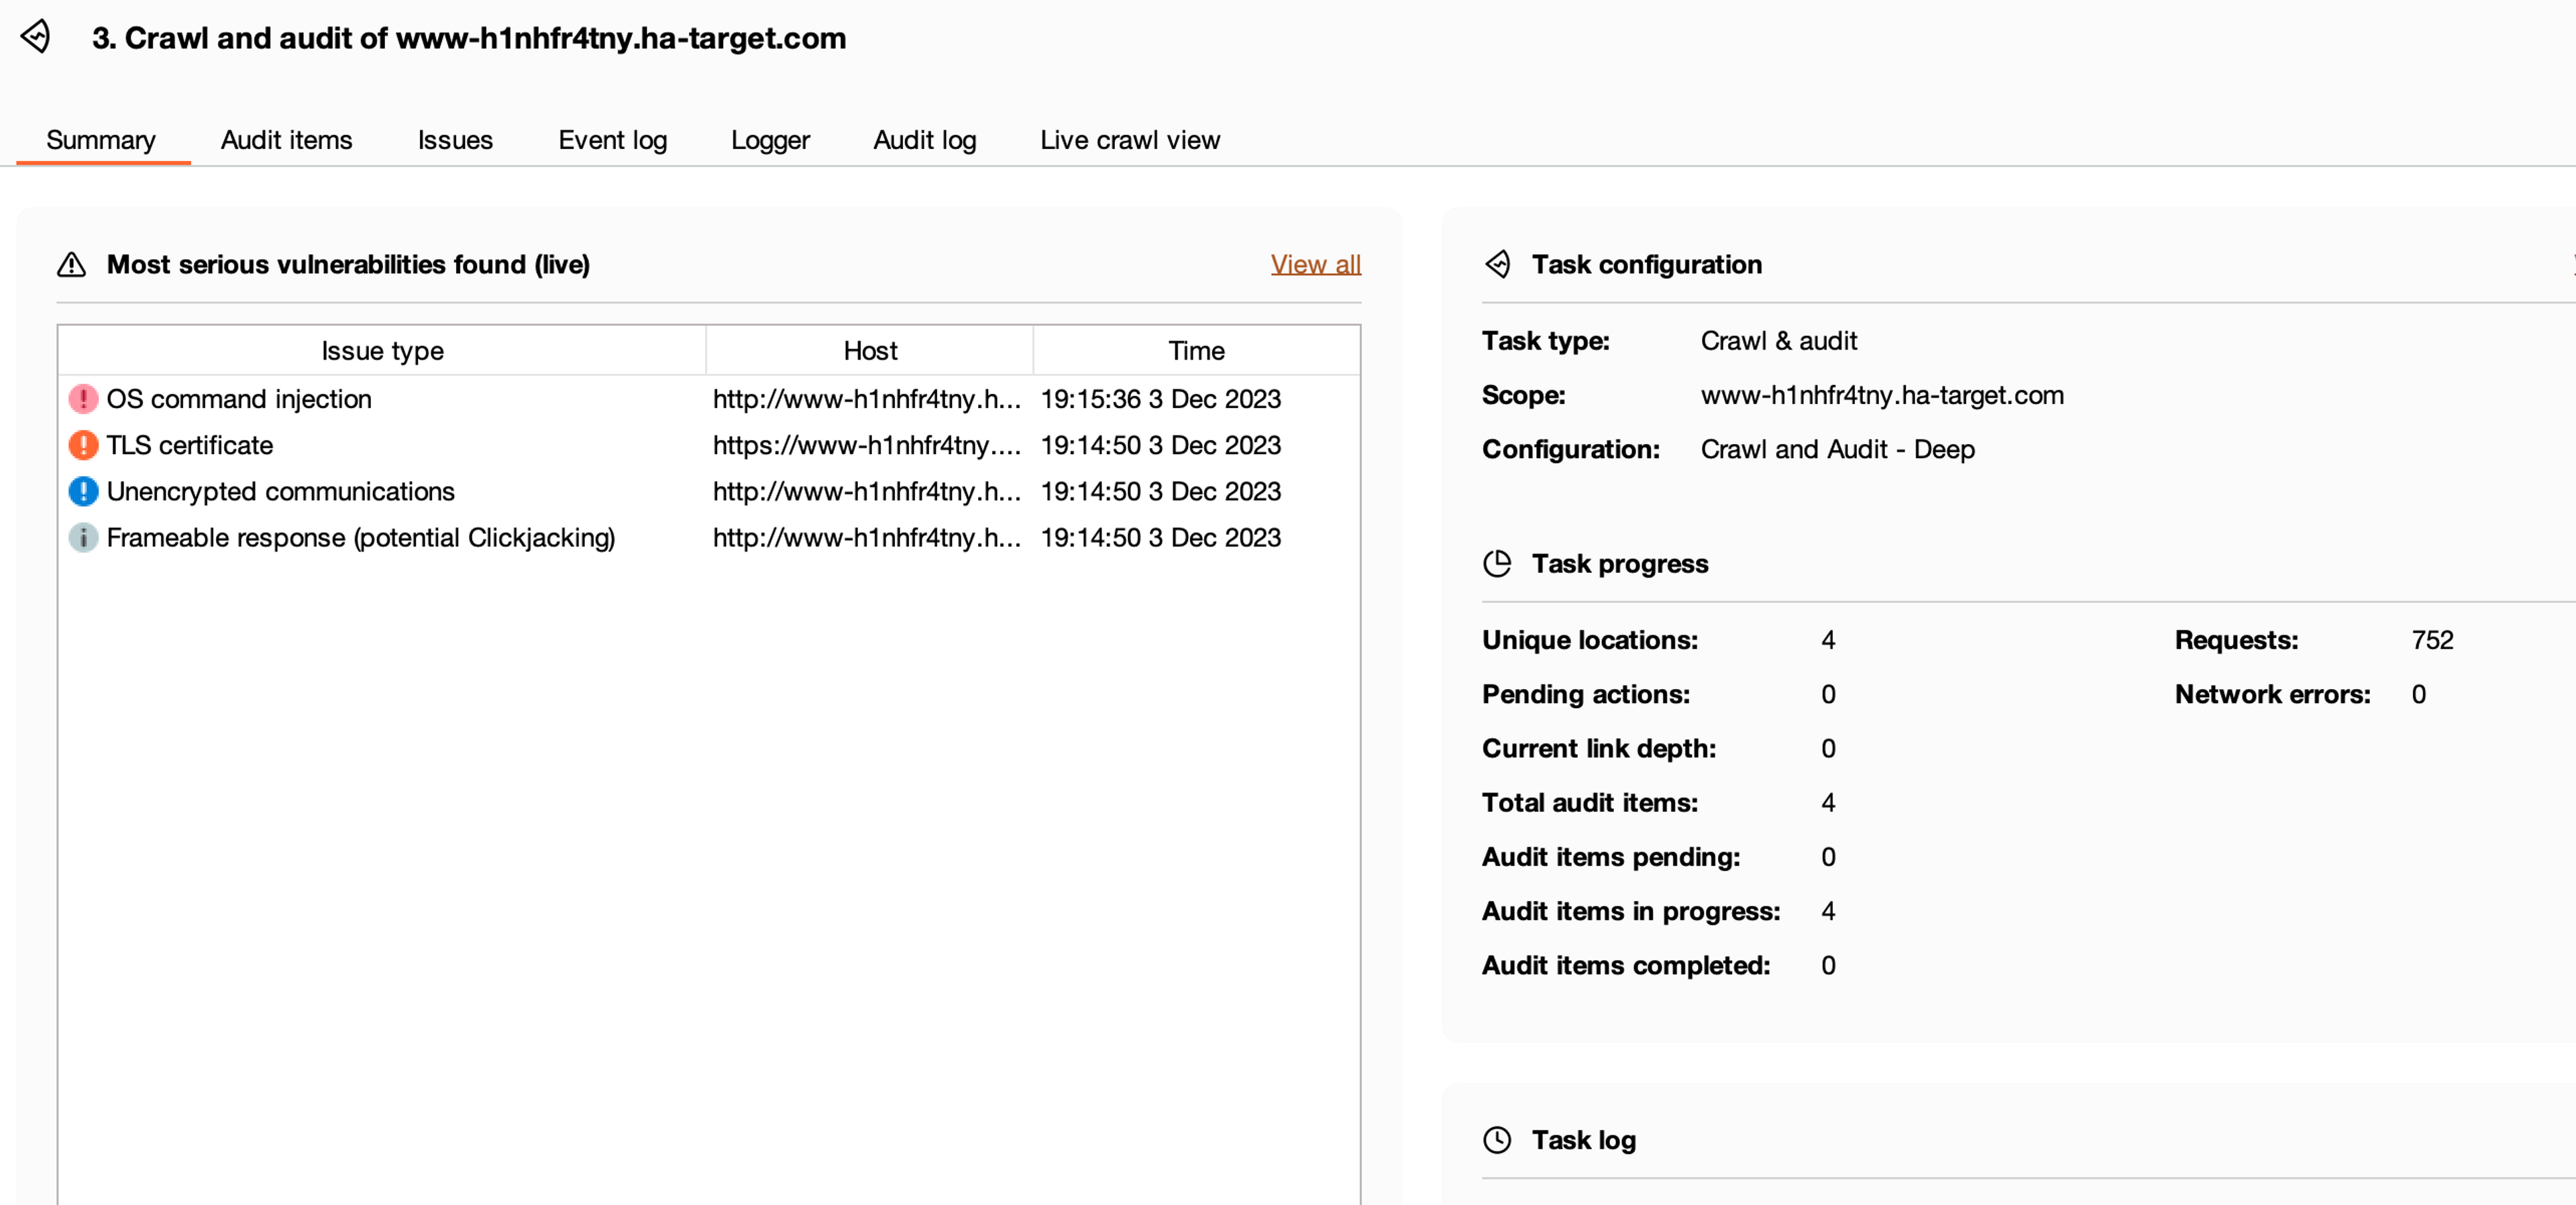
Select OK and the scanning source will start automatically. Go back to the Dashboard page. Now we can see that a new scanning operation is in progress and we can open it by pressing the arrow+window button on the right side of the operation.
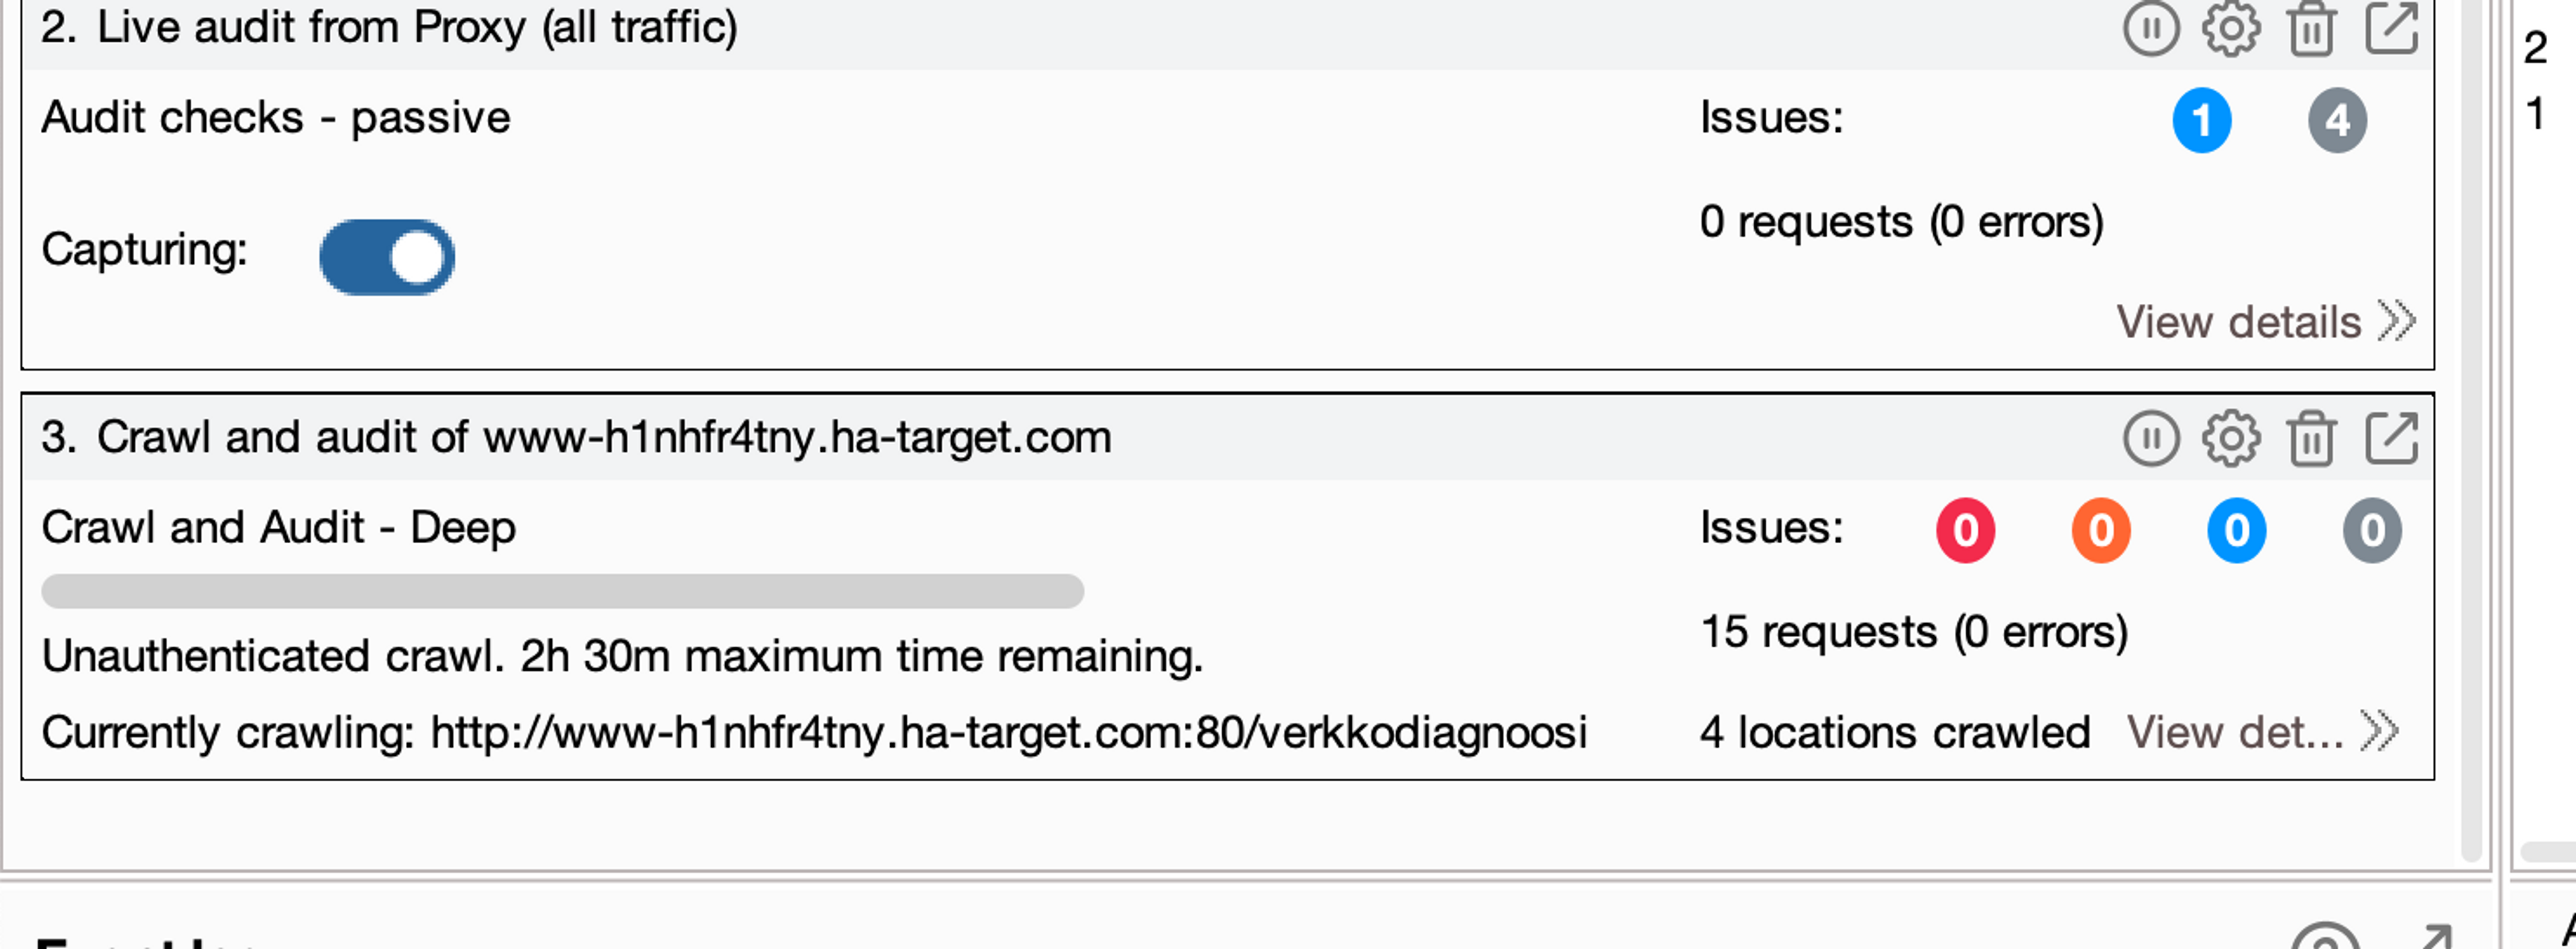
It won't take long for BurpSuite to detect the command injection vulnerability in the task.
Stopping the scan
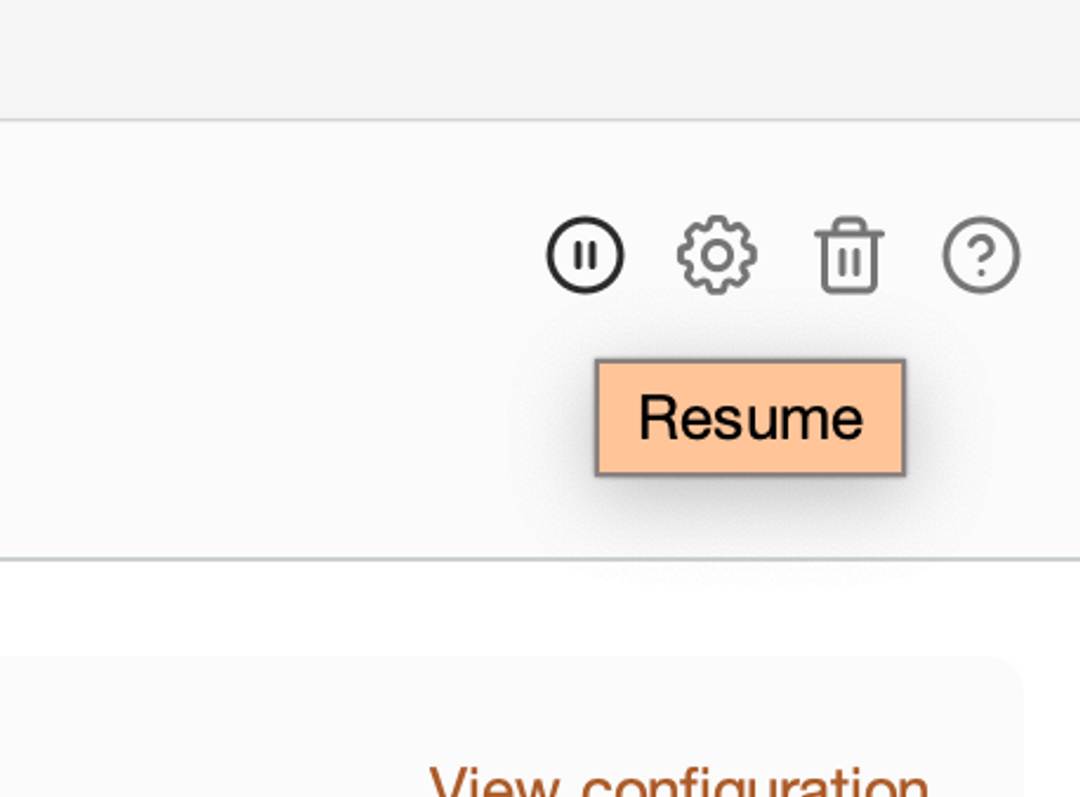
Stop the scan by clicking on the stop sign in the top right corner of the window.
Reviewing scan results
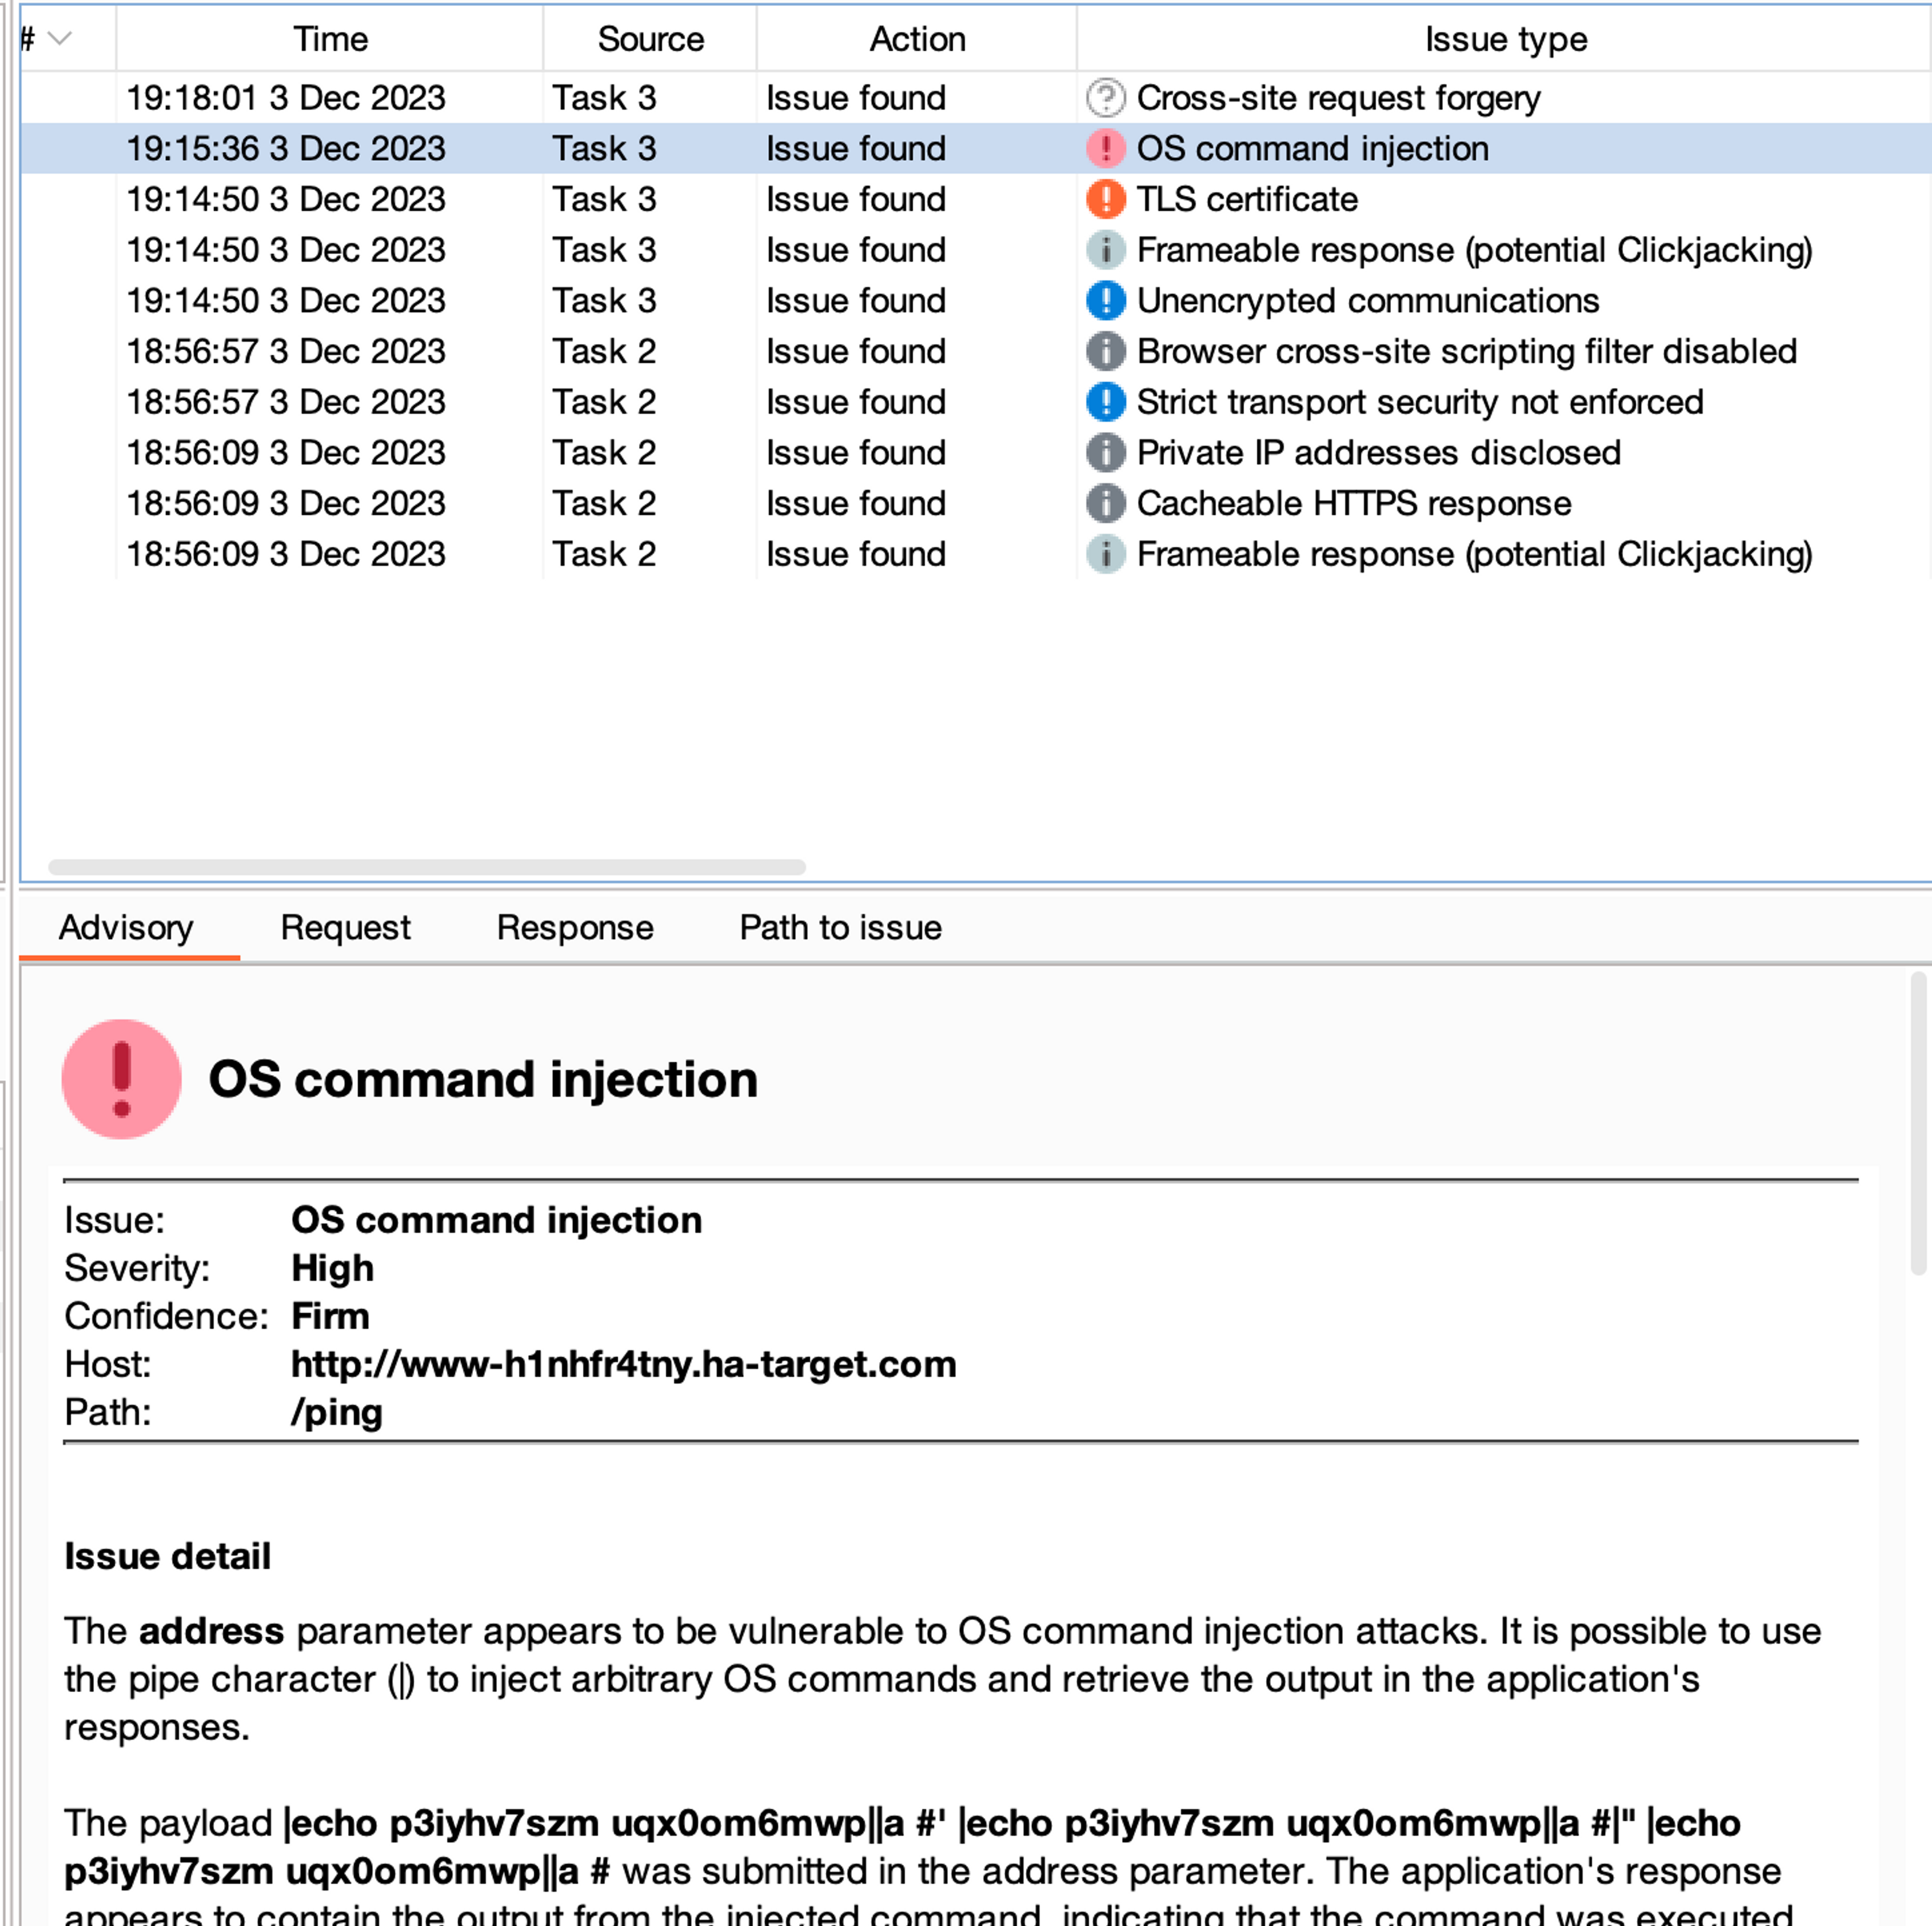
Finally, return to the Dashboard page and investigate the vulnerabilities and deficiencies found during the scanning.


Ready to become an ethical hacker?
Start today.
As a member of Hakatemia you get unlimited access to Hakatemia modules, exercises and tools, and you get access to the Hakatemia Discord channel where you can ask for help from both instructors and other Hakatemia members.


